Lighting equipment in photography: 18 Types of Photography Lighting Equipment You Need to Know
Photography Lighting Equipment: The Essential Guide
When you first dive into photography lighting equipment, you’re bound to feel massively overwhelmed. Studio lighting seems complex, it’s full of confusing jargon, and it certainly isn’t designed for the beginner.
But here’s the truth:
While photography lighting might seem complicated, it’s actually pretty easy to get started – assuming you have the right teacher. That’s where this article comes in handy; I aim to share all the photoshoot lighting basics, so that by the time you’re done, you’ll have a strong understanding of both studio lighting equipment and the accompanying vocabulary.
Let’s get started.
Types of light
In this section, I cover the main types of studio light. Note that each lighting type varies in terms of usefulness, portability, cost, and more.
Strobes
A studio strobe, sometimes referred to as a monobloc or monolight, is a dedicated flash unit. Strobes generally use cords, though more battery-powered offerings are brought to the market every day. Power output between models can vary greatly; cheaper strobes offer about as much power as cheap, third-party flashguns, while class-leading strobes are some of the strongest lights in the business. For this reason, strobes are the most common studio light used by professionals.
Strobes are powerful flash units that dominate studio photography.
Continuous lights
Continuous lights serve the same function as strobes, but they don’t flash. Instead, they are high-powered, constant lamps that can (usually) be fitted with modifiers. While associated with video, continuous lights still have their place in stills photography. LED lights are currently flooding the continuous light market, and many of them are viable options for stills shooters.
Note that continuous lights are sometimes referred to as hotlights – because they tend to get very hot.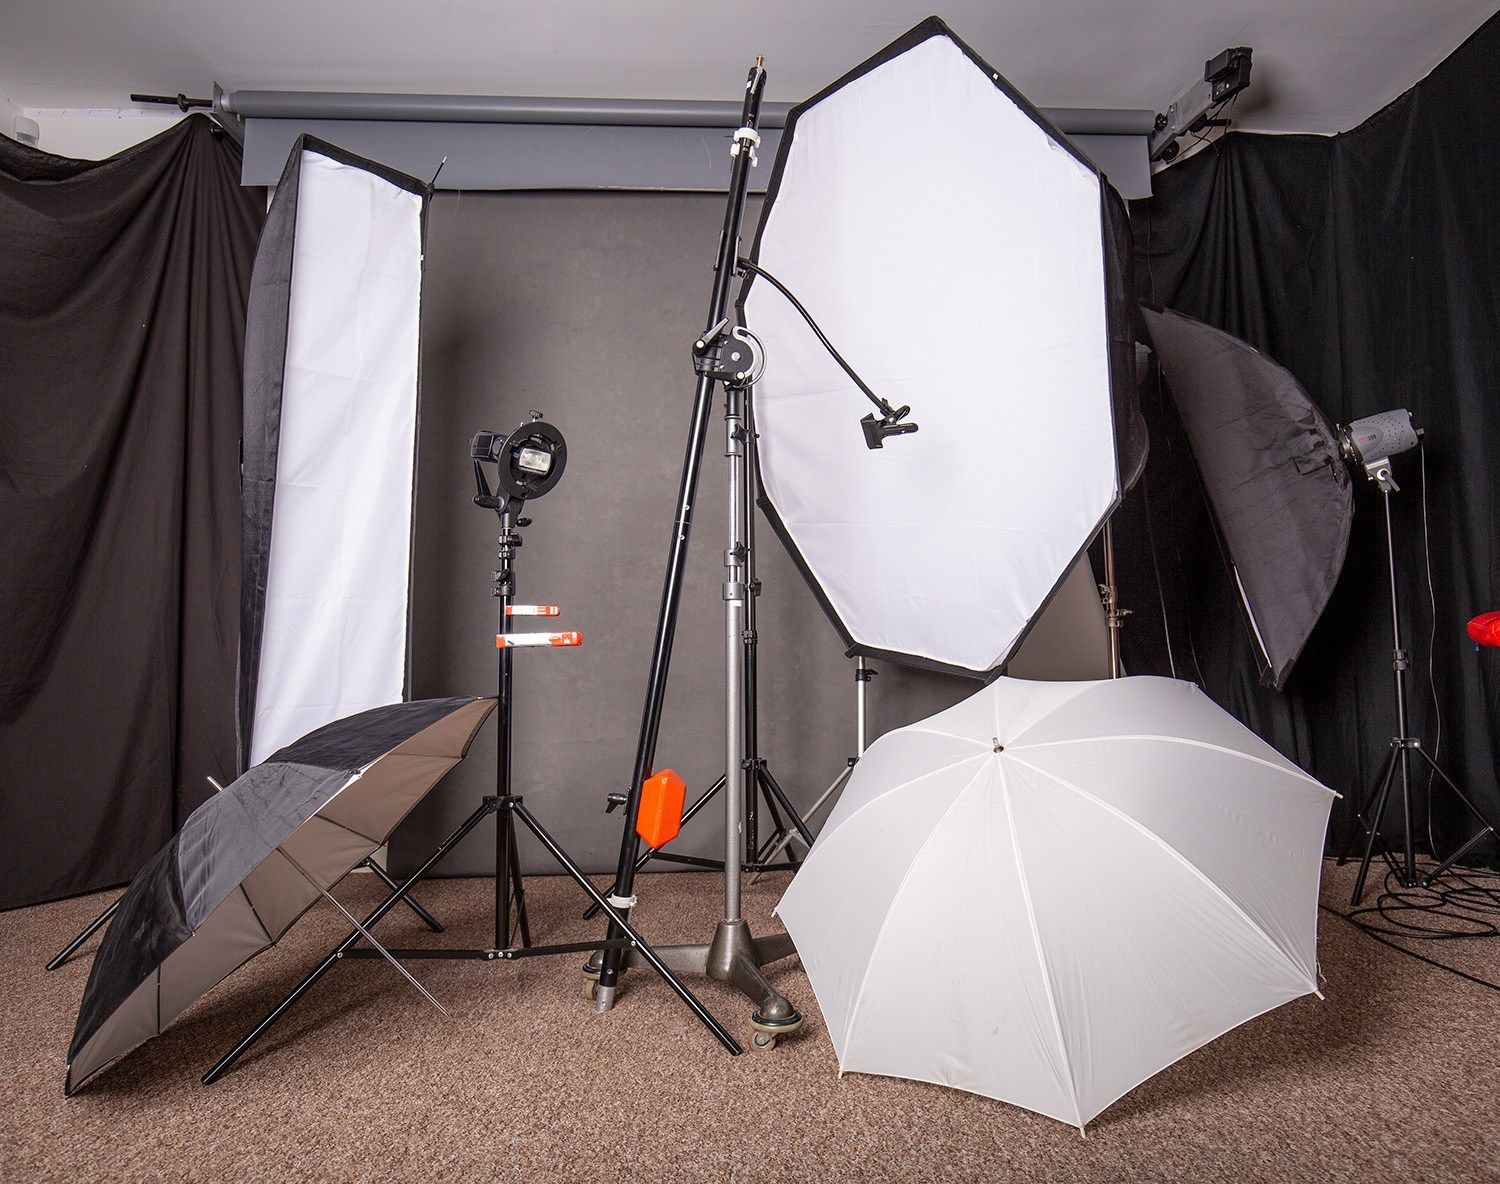 Be careful with modifiers that sit close to the bulb, as they present a fire hazard. (This does not apply to LED lights.)
Flashgun/speedlight
Flashguns are small lights that mount on top of your camera. They are highly portable, and some come with reasonably high power outputs. Although flashgun versatility is ultimately limited by size and power output, they are still an extremely useful tool for any photographer interested in off-camera lighting. They’re also less expensive than dedicated studio strobes.
Flashguns are small but competent light sources that are essential for portable studios.
Light functions
In this section, I discuss lighting roles. In other words, what do different studio lights actually do? How many studio lights do you need? And where do you point them?
Key light
The key light is a main light; you use it to create the overall lighting effect. Generally, the key light is the brightest and most prominent light in your scene.
Fill light
A fill light is positioned in reaction to the key light. It reduces the intensity of shadows created by the key light, thereby decreasing the overall contrast in your scene.
Rim light/backlight
Rim light illuminates your subject from behind, generally with the goal of separating the subject from the background. Often, rim lights are positioned so that only a sliver of light is visible on the sides of your subject.
Background light
Background lights point away from the subject to light the background. Not all studio lighting includes background lights, but like rim light, it’s a nice way to create subject-background separation.
Hair light
Hair lights are used in portrait photography to add emphasis to your subject’s hair. They can also be used to help bring up the exposure of your subject’s head if it is blending into the background.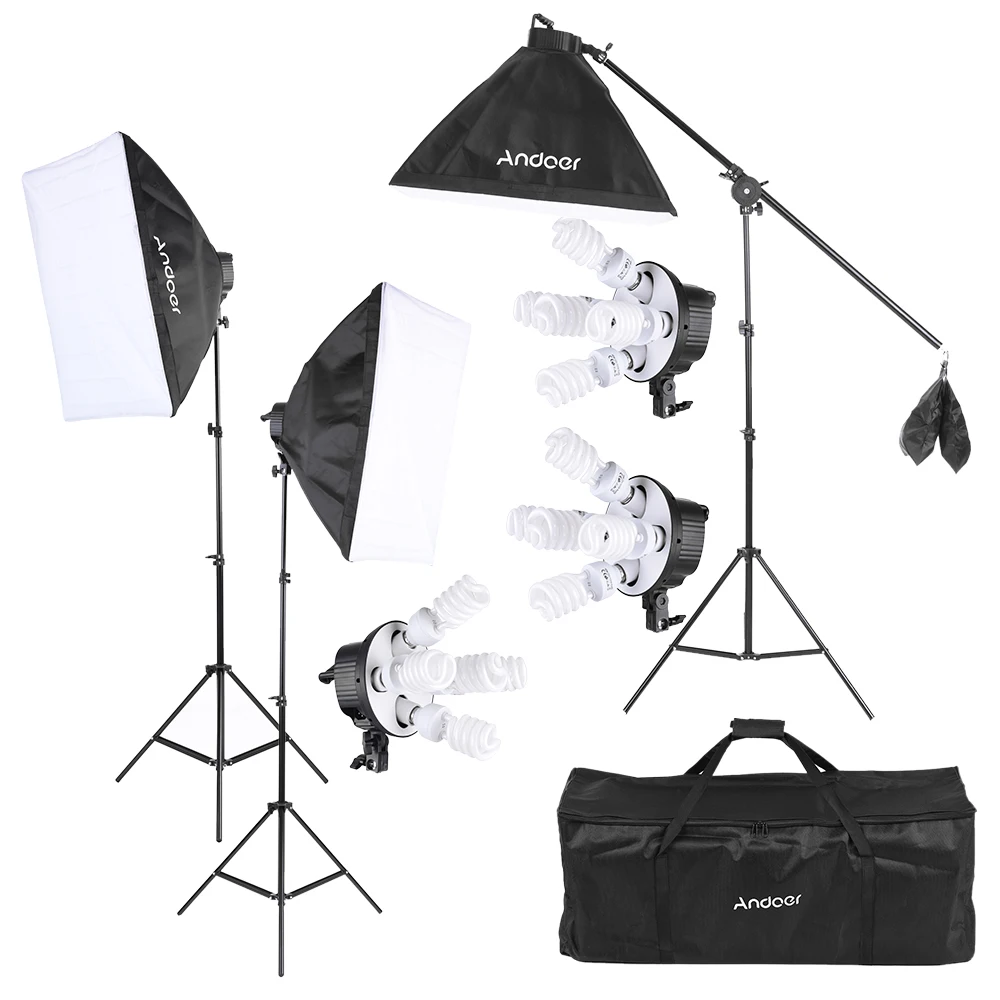
Ambient light
Ambient light refers to any light present before the addition of your studio lighting. It comes from lights in the room, daylight from a window, cracks above the door, etc.
Modifiers
Modifiers go between the light source and your subject, with the goal of changing the quality or intensity of the light. A modifier might harden the light, it might soften the light, it might reduce the light, or it might create unique lighting patterns.
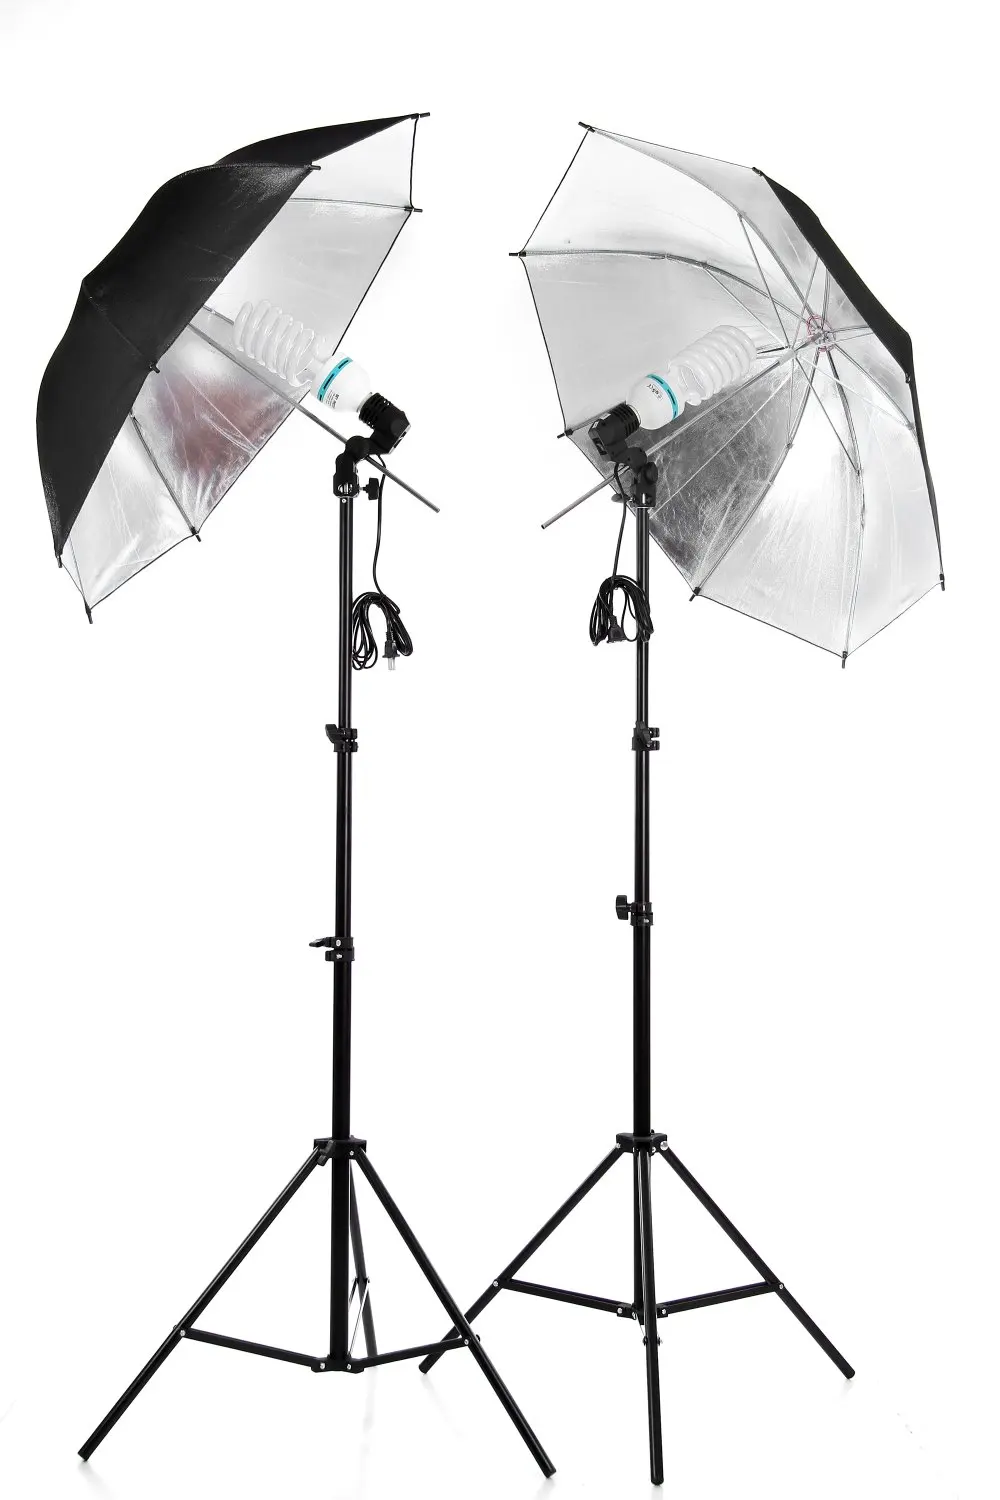
Umbrellas
Umbrellas look like, well, umbrellas, except they’re not designed for rainy-day use. Instead, photography umbrellas come in silver or white and are attached to your light via a mount. By pointing a studio light into the umbrella (which reflects the light back to your subject, as displayed in the photo below), you create a much larger, softer light source. Umbrellas are technically directional, but they can have a lot of spill, and they certainly aren’t the easiest modifier to control.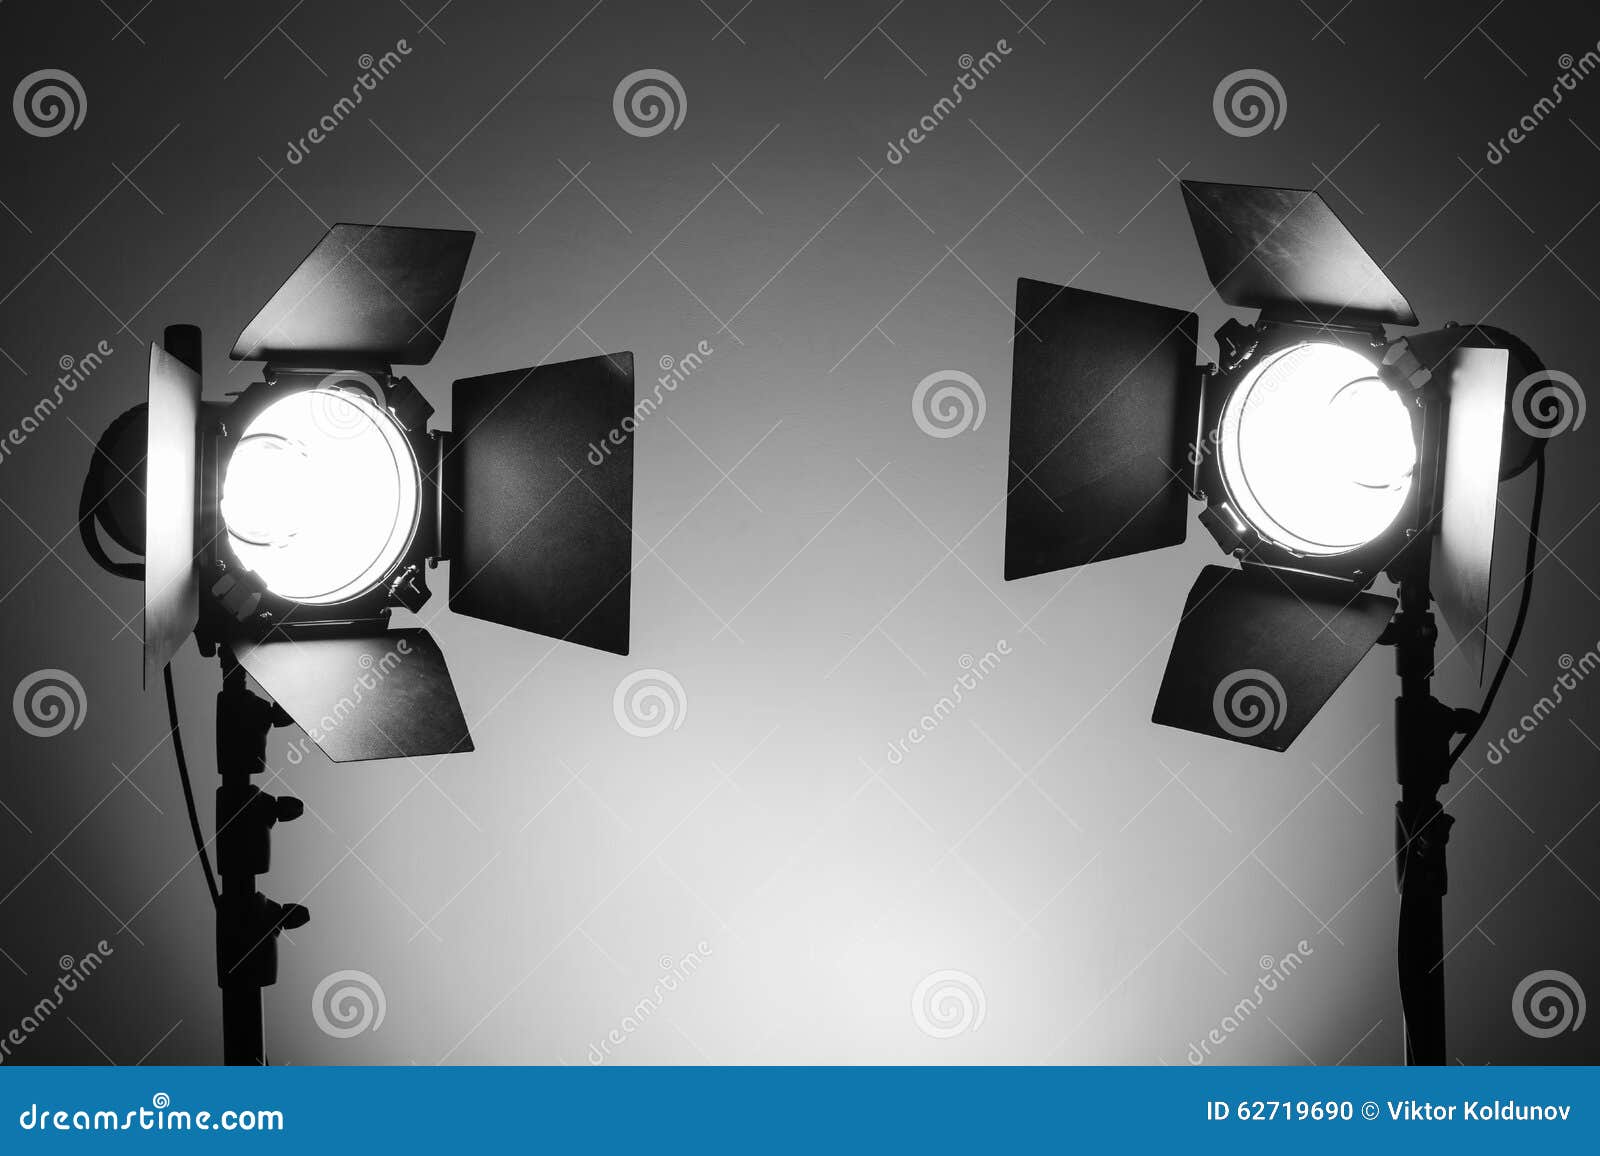
Umbrellas are your most basic modifier. They are good for soft, diffused light, but they are hard to control.
Translucent umbrellas/shoot-through umbrellas
Translucent umbrellas don’t reflect light like the umbrellas discussed above; instead, they’re made of a diffusion material that softens the light. Simply point your light into the a translucent umbrella to get a beautiful, even result (though with practically zero directionality).
Translucent umbrellas also provide soft light, but they aren’t as directional as softboxes, below.
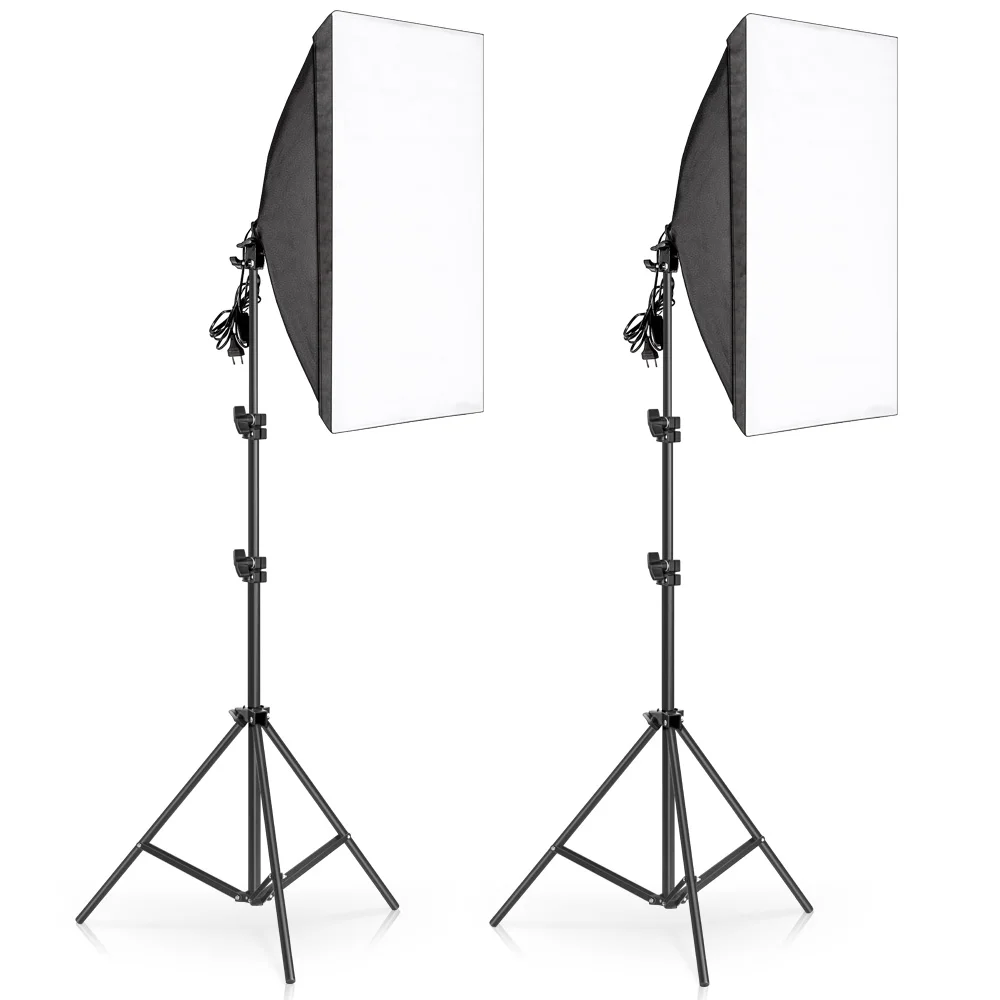
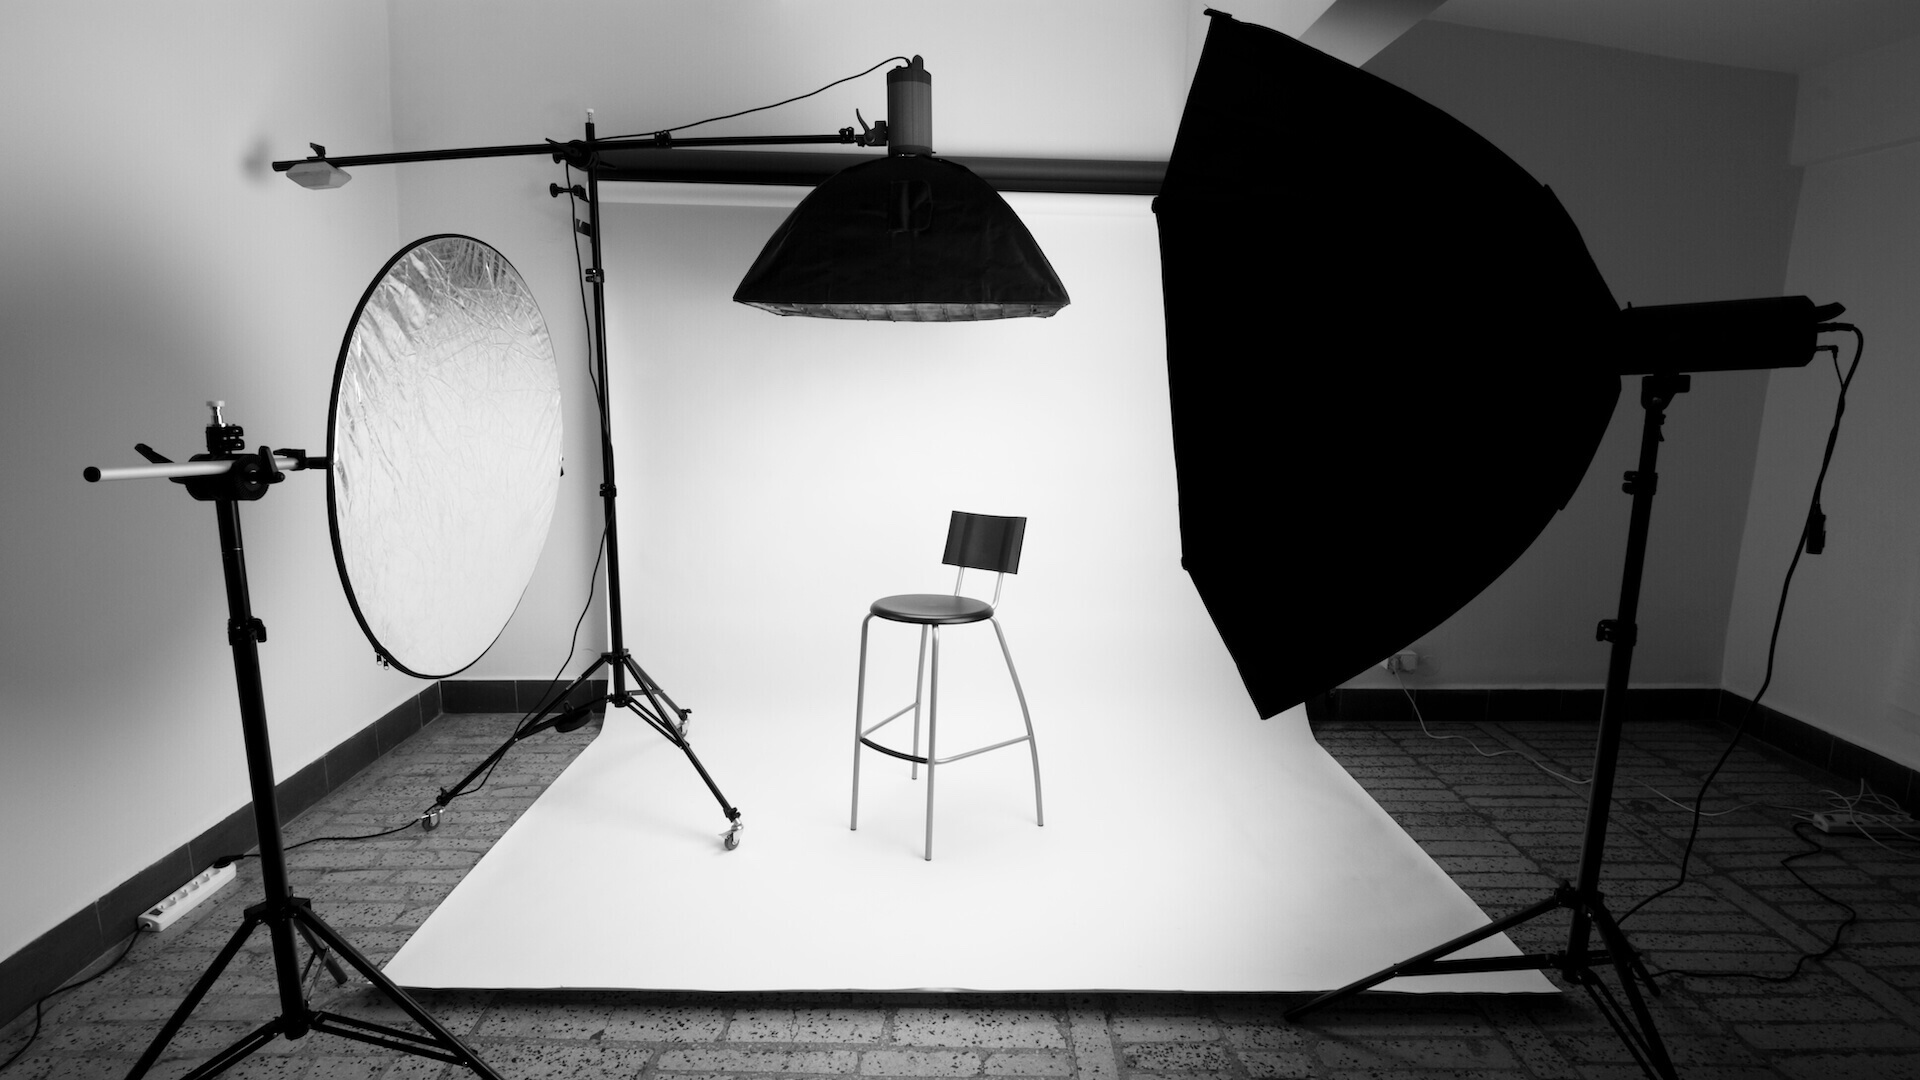
Softboxes
Softboxes come in a variety of shapes and sizes. Once mounted, a softbox shapes and softens the light to become more flattering. Softboxes also tend to be quite directional, they are easy to control, and they can even be adjusted with additional modifiers (such as grids). Softboxes are highly versatile, so they’re an ultra-popular studio accessory.
Softboxes are the workhorse of the photographic studio, and they come in all shapes and sizes.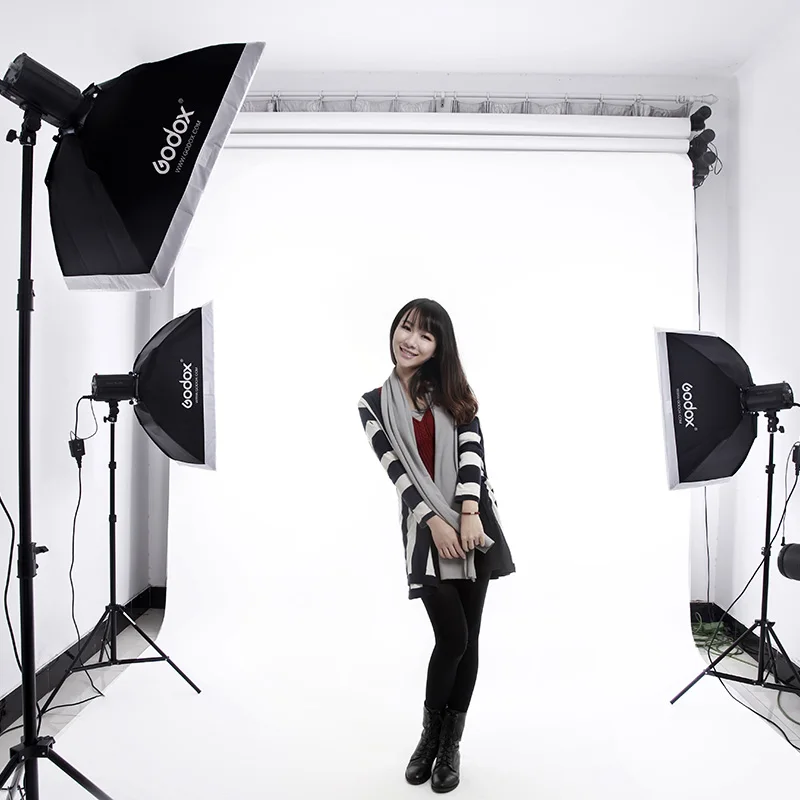
Strip boxes
Strip boxes are a special type of long, rectangular softbox. They produce a narrow beam of light, which is great for lighting a subject from behind for a rim lit effect.
Striplights are softboxes that offer very directional light.
Octaboxes
Octaboxes are special octagonal softboxes; the rounder result is useful for shaping portrait lighting. Octaboxes tend to be quite large, creating especially soft, flattering light that’s perfect for portrait photography.
Reflectors
Not to be confused with handheld reflectors (discussed below), reflective modifiers mount directly to a studio strobe. They channel the light in a specific angle for very directional light. Reflector light is very hard, and most reflectors are designed to take a variety of grids.
Reflectors, like this 110-degree reflector, provide a very directional and hard light source.
Snoots
Snoots are modifiers designed to focus your light in a very narrow beam.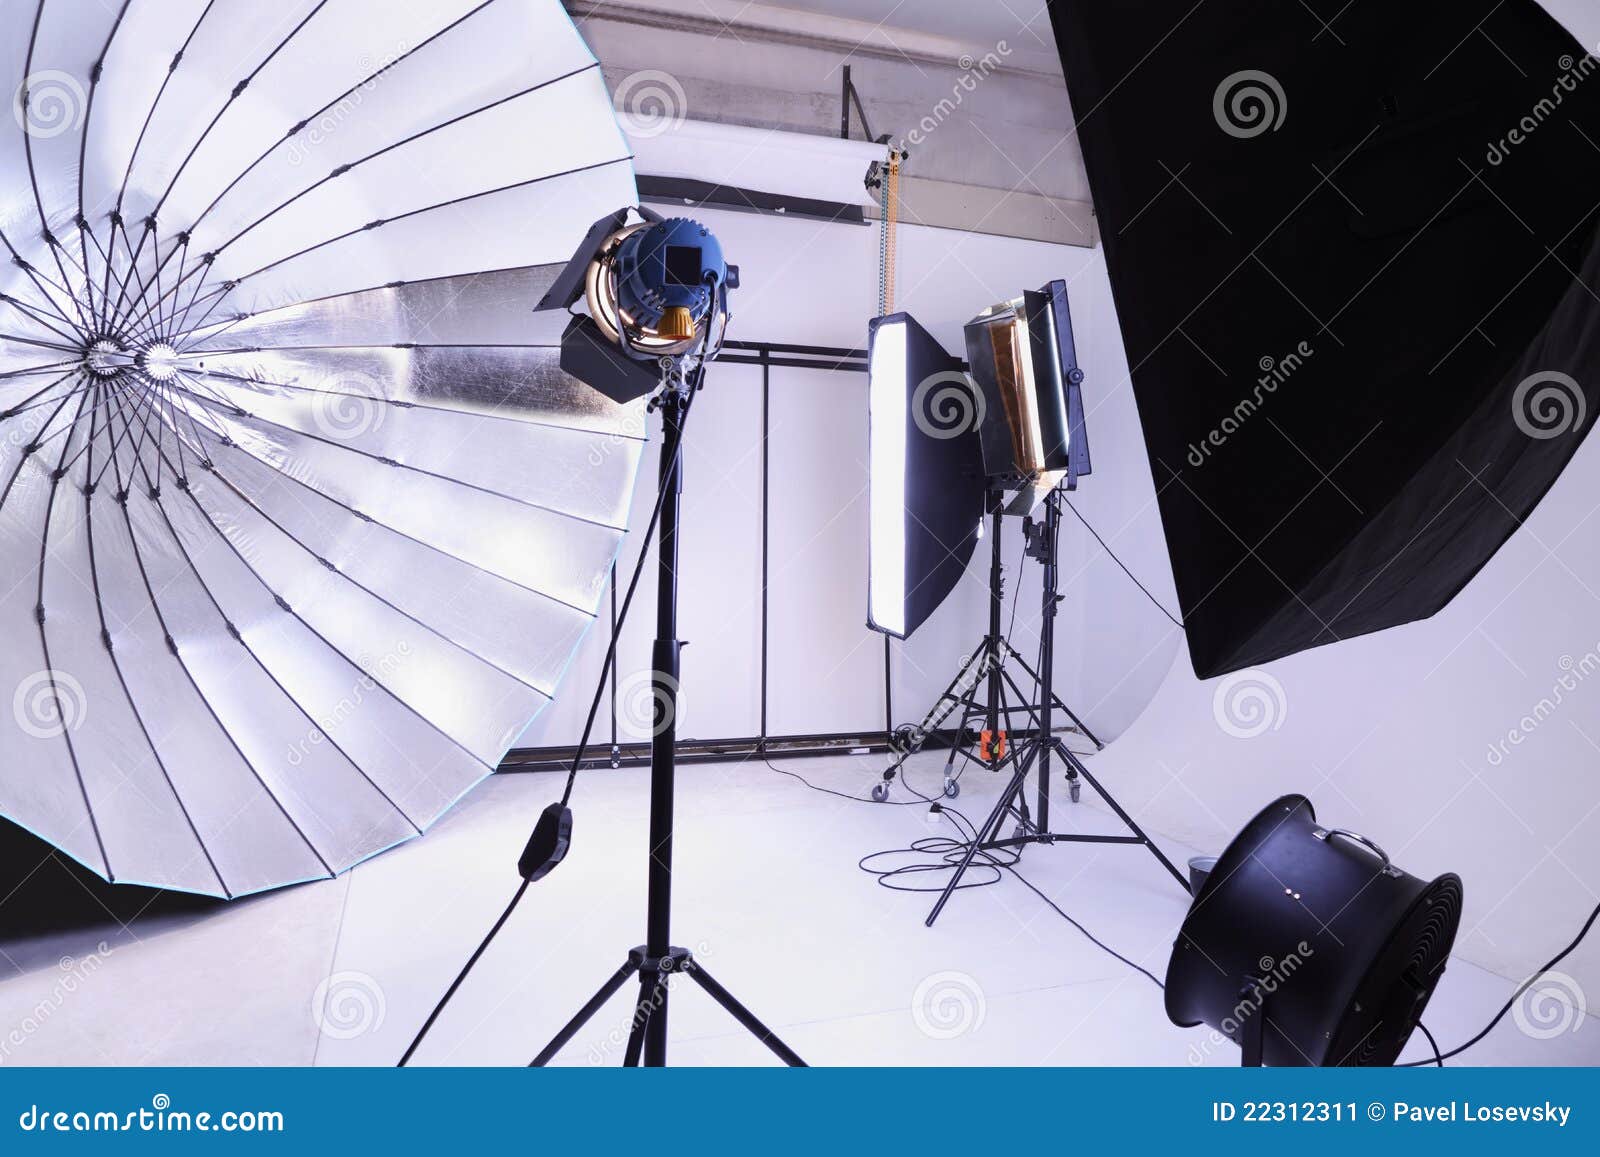 They make great hair and background lights.
Snoots direct your light into tight, controlled beam.
Barn doors
Barn doors are fitted with two to four flaps; these allow you to block and shape the light to create different effects. For instance, barn door flaps can help you focus your light on a specific aspect of your subject (such as the hair), or they can be used to prevent (flag) the light from hitting a certain spot.
Beauty dishes
Beauty dishes are directional modifiers that sit somewhere between soft and hard light. They are great for beauty photography, fashion photography, and portraiture. They often come with grids and diffusion socks to give you extra options.
Beauty dishes offer a lighting effect somewhere between hard and soft.
Grids/honeycombs
Grids are modifiers for your modifiers. You place them on a reflector, softbox, or beauty dish to further narrow the beam of light – to ensure the light is only falling on your subject (or on some other, desired location).
Grids help you to further modify the directionality of your light.
Gobo
A gobo goes in front of a light source and changes the shape of the light. A gobo might simply narrow the beam, or it might create complex patterns.
(Confused? Imagine a Venetian blind with light streaming through. Now imagine the pattern on the wall. The blind is acting as an effective gobo and shaping the light!)
Color Gels
Gels are colorful, translucent sheets that fit over your light. Thanks to gels, your lights can produce just about any color imaginable (for all sorts of creative effects!).
CTO
Gels
These are color correction gels, used when you need to correct the color temperature of a given light. For example, if you have a gridded beauty dish that is on the warmer side and you want to use a second, cooler light as a hair light, you’d place a CTO gel over your hair light. That way, you can match and balance the color output of both lights.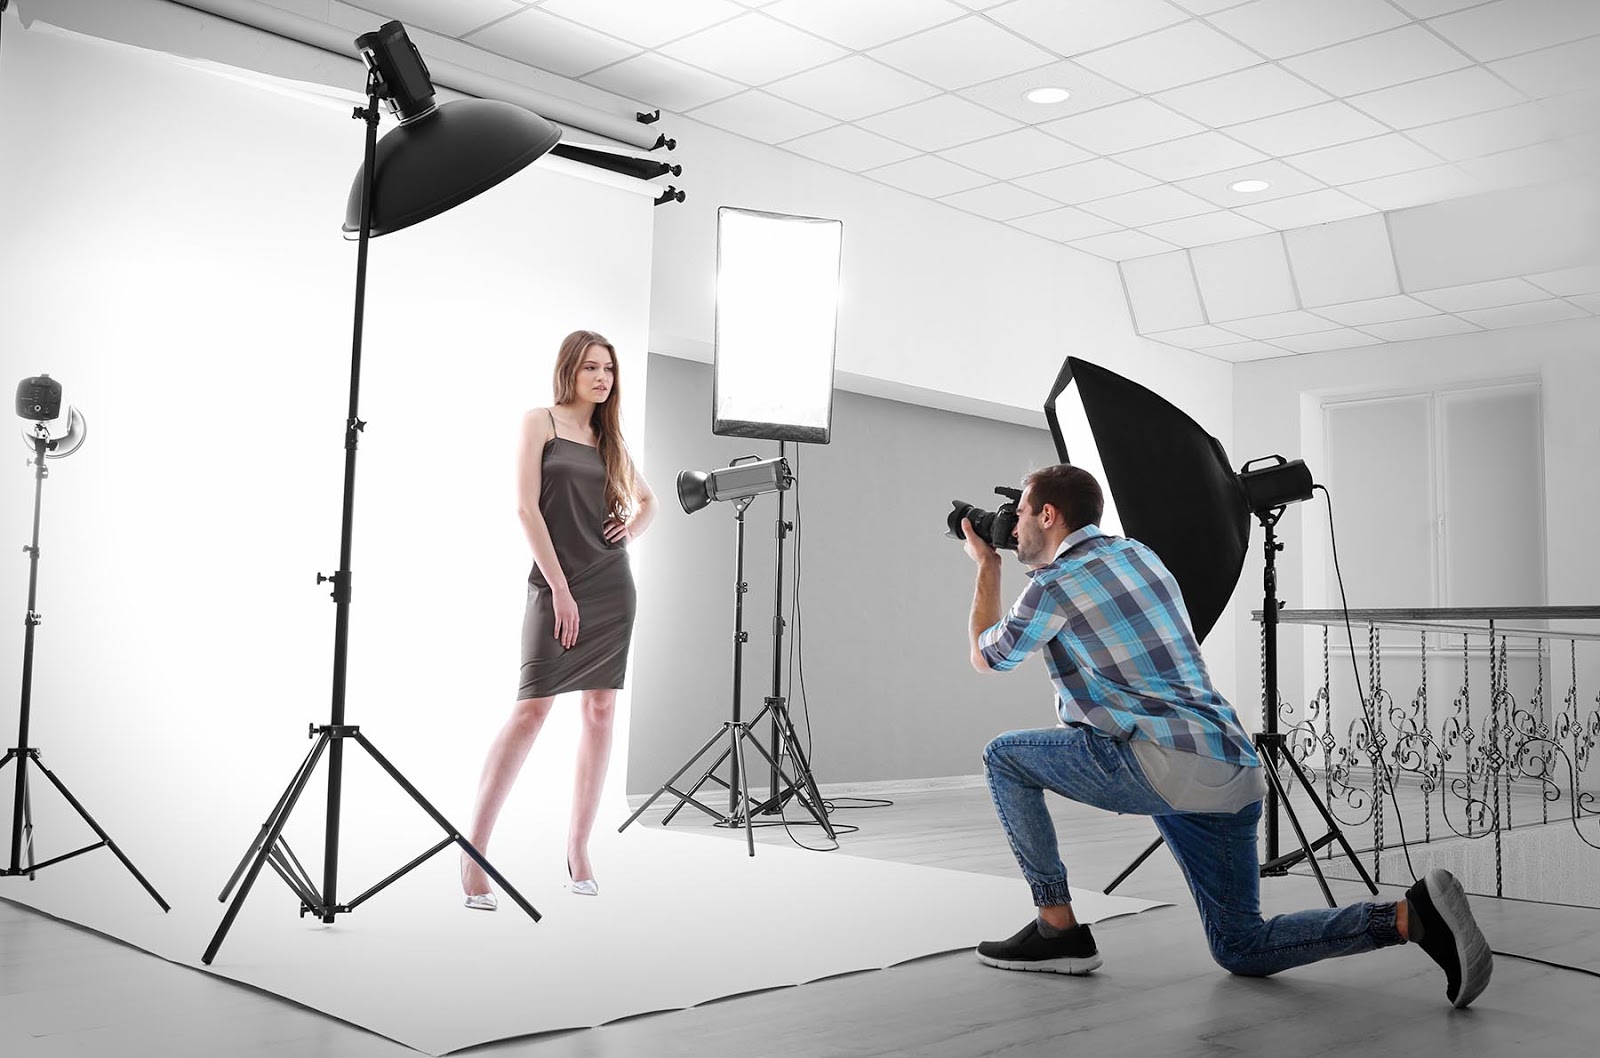
Portable reflectors
Not to be confused with reflective modifiers (above), reflectors allow you to reflect light back onto your subject. They are a way to create fill light without a second dedicated light source. Reflectors come in many shapes and sizes, from the ubiquitous 5-in-1 reflectors to fancy tri-flectors sometimes used in beauty portraits.
Reflectors and diffusers are two vital tools when shaping and controlling your light in the studio. Also shown here is a reflector stand.
Diffuser/scrim
A diffuser is a piece of translucent material that you place in front of a light source to alter the quality of the light or to reduce its intensity. Some diffusers do both.
Flags
Flags are used to block (or flag) light from falling on certain parts of the scene. You can use a flag to stop excess light falling on your background, or you can use a flag to reduce the exposure on specific parts of your subject.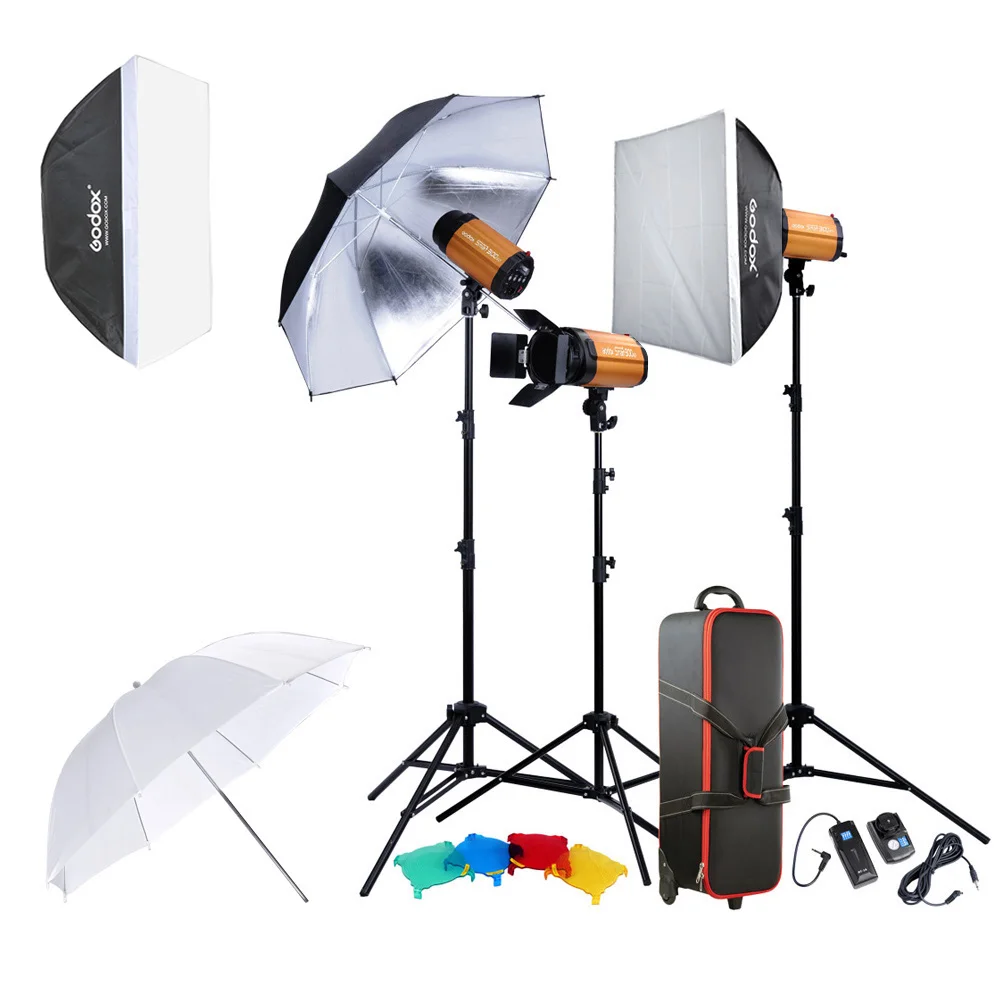 For example, I sometimes use flags to underexpose everything from the neck down in close portraits. This helps ensure that the face is the main focus of the image.
Studio accessories
In this section, I discuss accessories that can make for easy, efficient photo shoots.
Light stands
Light stands are designed to hold your light sources. Make sure your light stands can handle the weight of your heaviest light (note that a high-powered, dedicated strobe requires a lot more support than a speedlight!).
This image shows a boom arm attached to a lighting stand on a dolly. It’s a fantastic and versatile piece of kit.
Dolly
Dollies are highly useful; they’re light stands, but equipped with wheels!
Boom arm
A boom arm is a light stand that you can position at any angle, from completely vertical to completely horizontal. Boom arms are a great way to get your lights up high and to place your lights at angles a traditional light stand can’t manage.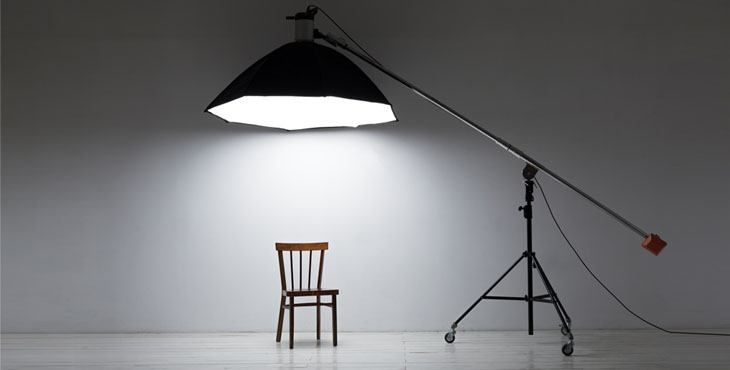 You can mount different varieties of boom arms to other light stands, as well as permanent fixtures like walls.
Reflector stand
These are dedicated stands designed to hold a reflector in place (e.g., under your subject’s chin).
Background/backdrop
A backdrop is the surface behind your subject. Backdrops can range from paper and vinyl rolls to bare or decorated walls to pieces of painted canvas.
This image shows a painted canvas background. At the top of the frame, you can see gray and white vinyl rolls on a motorized support system.
Background stand/support
Background stands are support systems designed to hold a backdrop in place. They can be free standing or wall mounted.
Clamps
Clamps and other fastening devices come in all shapes and sizes. You can (and should) use clamps liberally; backgrounds, flags, reflectors, gels, and many, many other things need to be held in place during photo shoots. For example, bulldog clips are indispensable for holding up canvas backdrops, while double-headed clamps can attach to a table and hold a flag or reflector (as pictured below):
This image shows a selection of clamps and clips that are helpful in the studio. The double-headed clamp is holding up a piece of black foam core that I use as a flag.
Rails
In bigger studios, you might see lights fixed to fittings on the walls and ceiling. These rails allow you to move your lights around a space without the hassle of a light stand. They also keep cords out of the way of you and your subjects.
Other
Here are a few miscellaneous items of studio lighting equipment that it pays to own, along with a couple of key vocabulary terms:
Quality of light
Light quality refers to the physical characteristics of light (generally the shape, intensity, hardness, and color).
Lighting pattern
A lighting pattern refers to a particular lighting position designed for predictable and established results.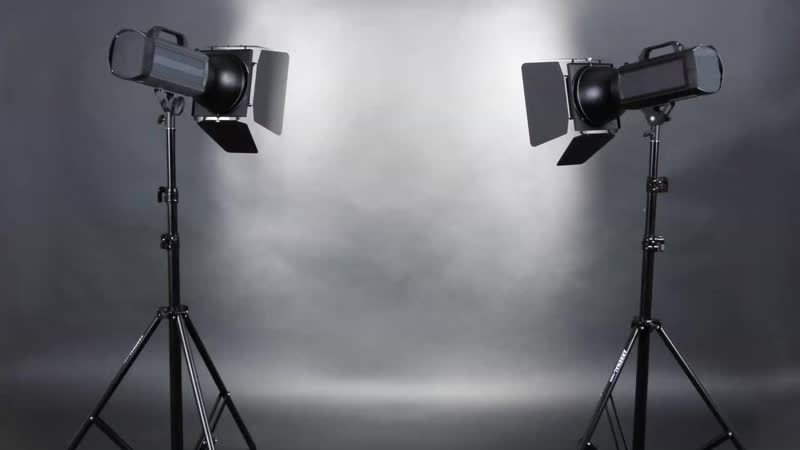 Examples of lighting patterns include butterfly lighting, Rembrandt lighting, and split lighting.
PC sync socket/cable
The PC sync lets you connect your camera to a flash. You can use this in lieu of triggers.
Triggers
Triggers allow a camera to communicate with lights and ensure that flashes fire while the shutter is open. They range from very basic models with just one function to complex devices that allow for full control over the settings of multiple lights.
Triggers allow your camera to communicate with your flashes so that they remain in sync.
Slave mode
In slave mode, a flash will detect the light from another flash via a sensor, then fire off a burst. It’s perfect for situations when you have multiple lights but only one basic trigger.
Mount
Modifiers attach to a strobe via a mount. A lot of lighting manufacturers have their own proprietary mounts associated with their systems (Bowens, Profoto, Elinchrom, etc.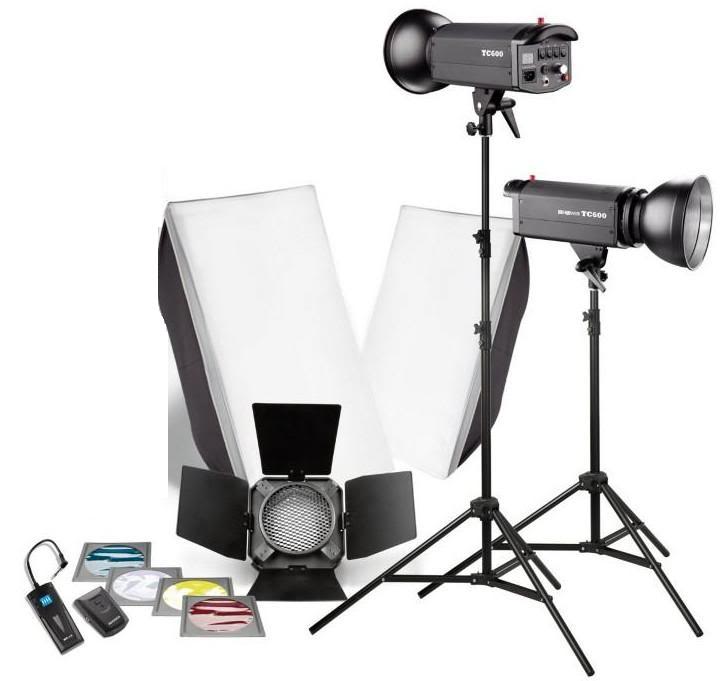 ), so you will need to ensure that any modifier you buy will fit the system that you own.
This is the shape of the commonplace Bowens S-mount.
Modeling light
Many strobes come fitted with two bulbs: a powerful flashbulb, from which you get the strobe light, and a weaker modeling bulb, which is on whenever the strobe is not flashing. The modeling light helps you see what the light quality and direction are doing to your subject. As a bonus, if you’ve cut out all ambient light (as you should in a studio environment), modeling lights allow you to see!
Studio lighting equipment: final words
Well, there you go:
An introduction to studio lighting equipment, complete with plenty of vocabulary. Now that you’ve finished this article, you can confidently step into a studio and know exactly what is going on – and you can get started with some studio lighting of your own!
Now over to you:
Which of the studio equipment items mentioned above do you own? Which do you plan to buy? And which is your favorite? Share your thoughts in the comments below!
Lighting Equipment 101: Why to Invest and What to Buy
How To Set Your Camera’s ISO, Aperture, and Shutter Speed for DIY Product Photography
Read more →
The Best Fashion Photography Lighting Guide: 3 lighting setups for apparel product photography that won’t ruin your budget
Read more →
Whether you’re a hobbyist or a professional, understanding that light is a vital part of the outcome of your images is crucial. Gaining extra light can be an easy fix, whether it be from a window, a lamp from your living room, or a professional lighting kit. In some cases, you will need the latter for it’s convenience and the ability to control the lighting in your situation.
Decide which continuous, speedlight, or strobe lighting equipment to buy in this helpful equipment guide.
It can be confusing to decipher which photography and lighting equipment might be best for you to utilize and potentially invest in for your business. To simplify things, ask yourself: what are your main needs? what is your purpose for using artificial lighting? These two questions can assist in shaping which lighting kit is best for you.
In this article, we will provide details about the various types of lighting equipment that you can purchase to create stunning images!
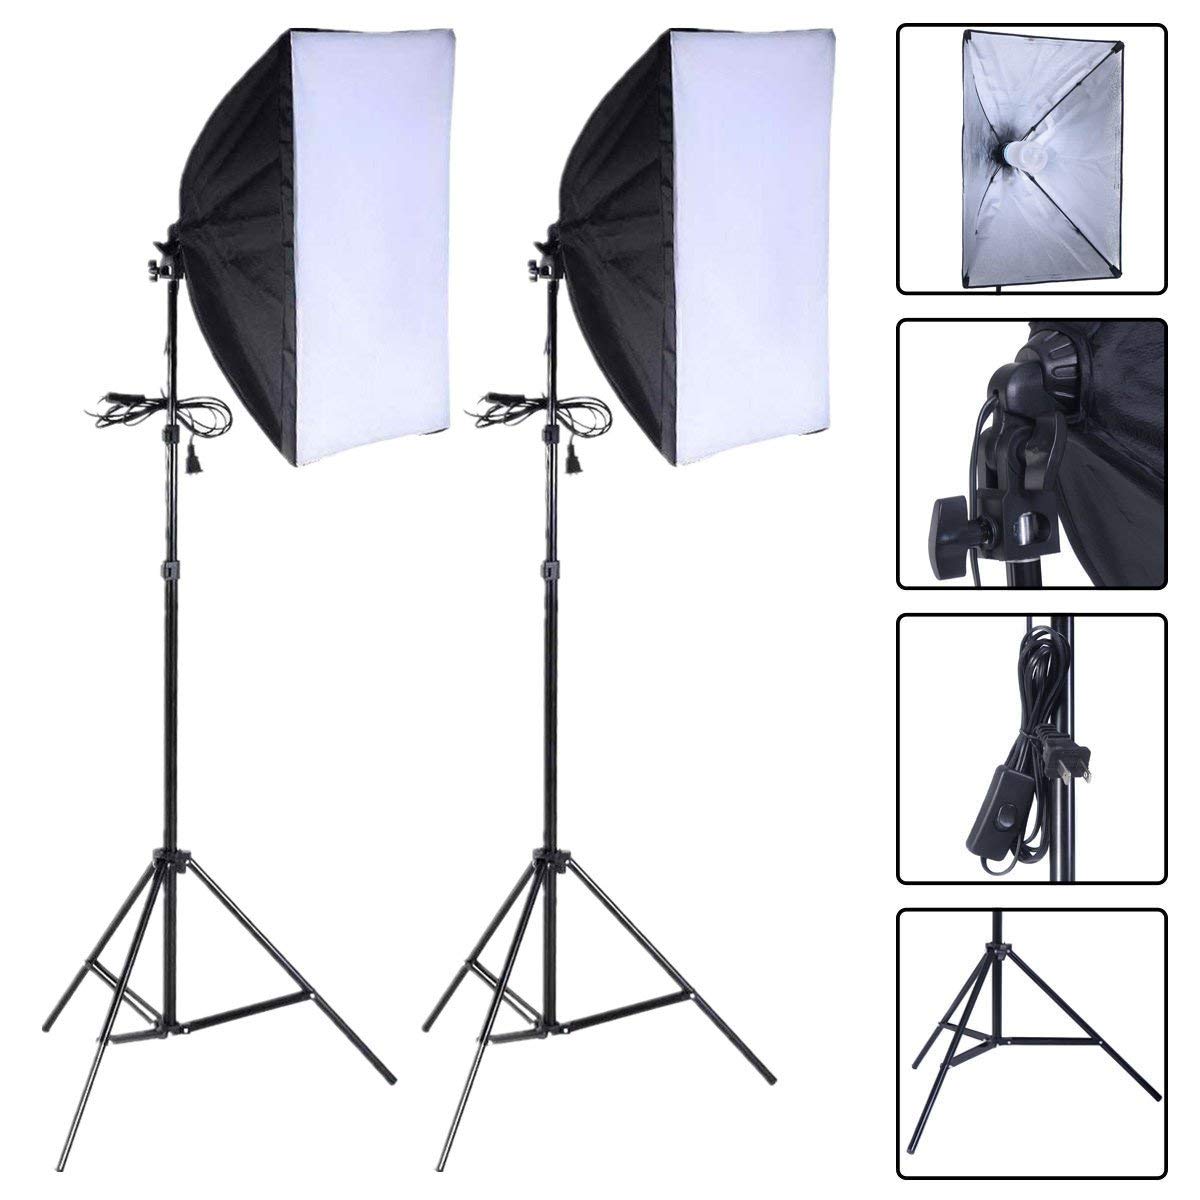
1. Continuous Lighting Kits
Continuous lighting is primarily useful in product and still life photography or video. A huge advantage to this type of lighting is that you can visualize how your light will appear in your image before you begin shooting, thus making it easier to adjust your lighting quickly.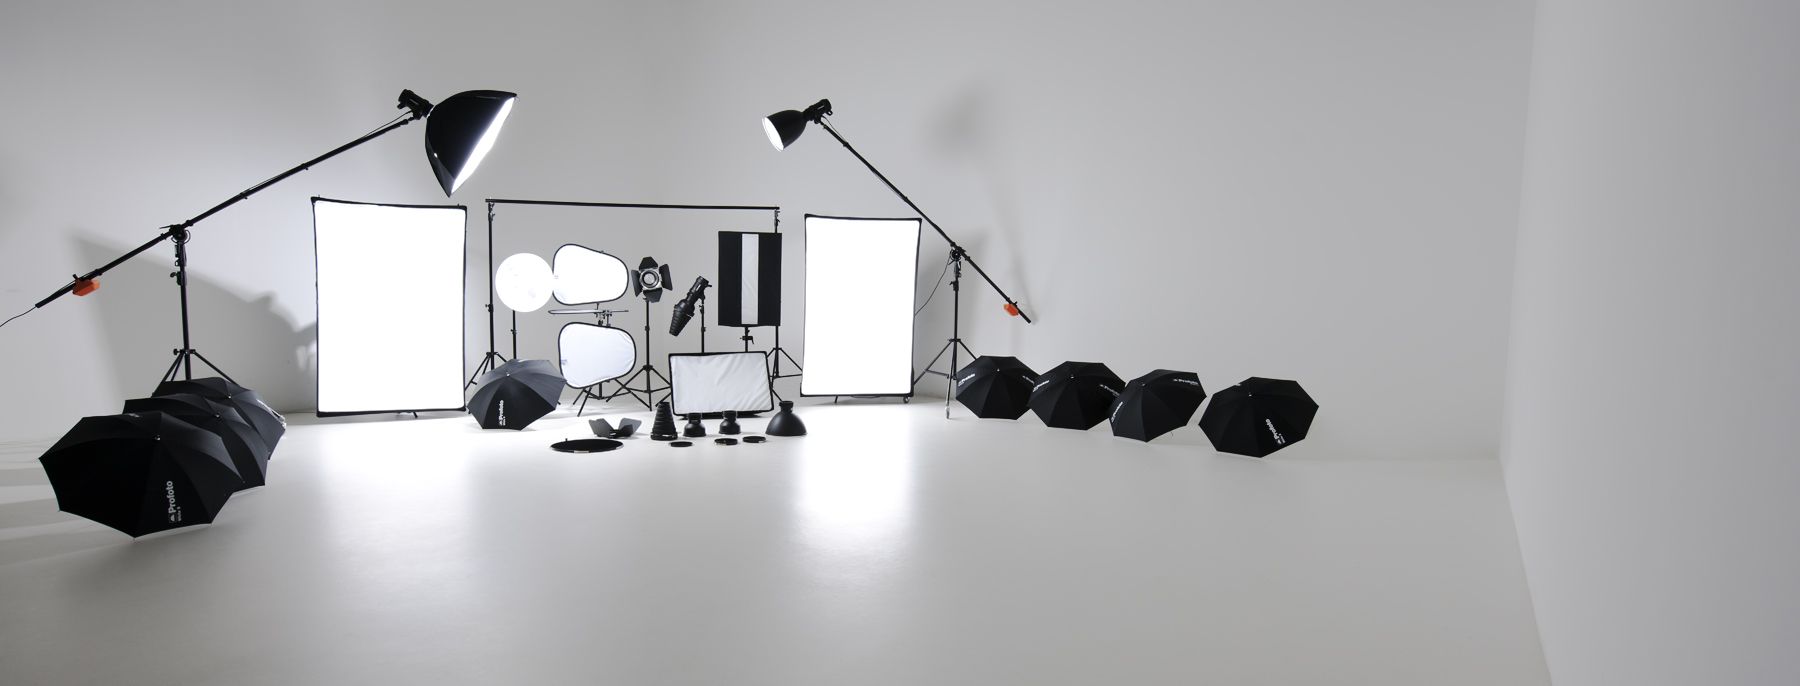 This type of lighting is great for beginners because it lets you manipulate your light more manually and is very cost efficient compared to other models of lighting kits.
There are three major types of continuous lighting bulbs: fluorescent, tungsten & LED. All types generate great results, so choosing which to use is mainly a matter of personal preference.
Fluorescent is generally easier to find in studio lighting and does not overheat, so that is what most studio photographers use. LED is a safer option to tungsten because they tend to not overheat as much. Regardless of which color balanced bulbs you use, remember to set your camera’s white balance to Auto or specifically according to the type of bulb you’re using to generate accurate colors.
A set of two lights will allow for more versatility in your lighting setups.
Here are a few great options for continuous lighting kits to photograph product images:
- $88 Studio Essentials Tabletop Fluorescent 2-Light Product Photography Kit
- $90 CLAR 2-Light SoftBox Kit, Stands & Carrying Case
- $140 Bescor LED 95DK2 LED Video Light Kit with Two LED Light Panels, Two Pieces Floor Stands and Two AC Adaptors
- $445 Smith-Victor KSB-1000 2-Light 1,000 Watt Economy SoftBox Light Kit
- $680 Fotodiox SF50 SkyFiller 1×1′ 50w Bi-Color Powerful & Ultra-Portable 2 LED Light Kit with Stands
Take your continuous lighting kit one step further by purchasing an adjustable power kit.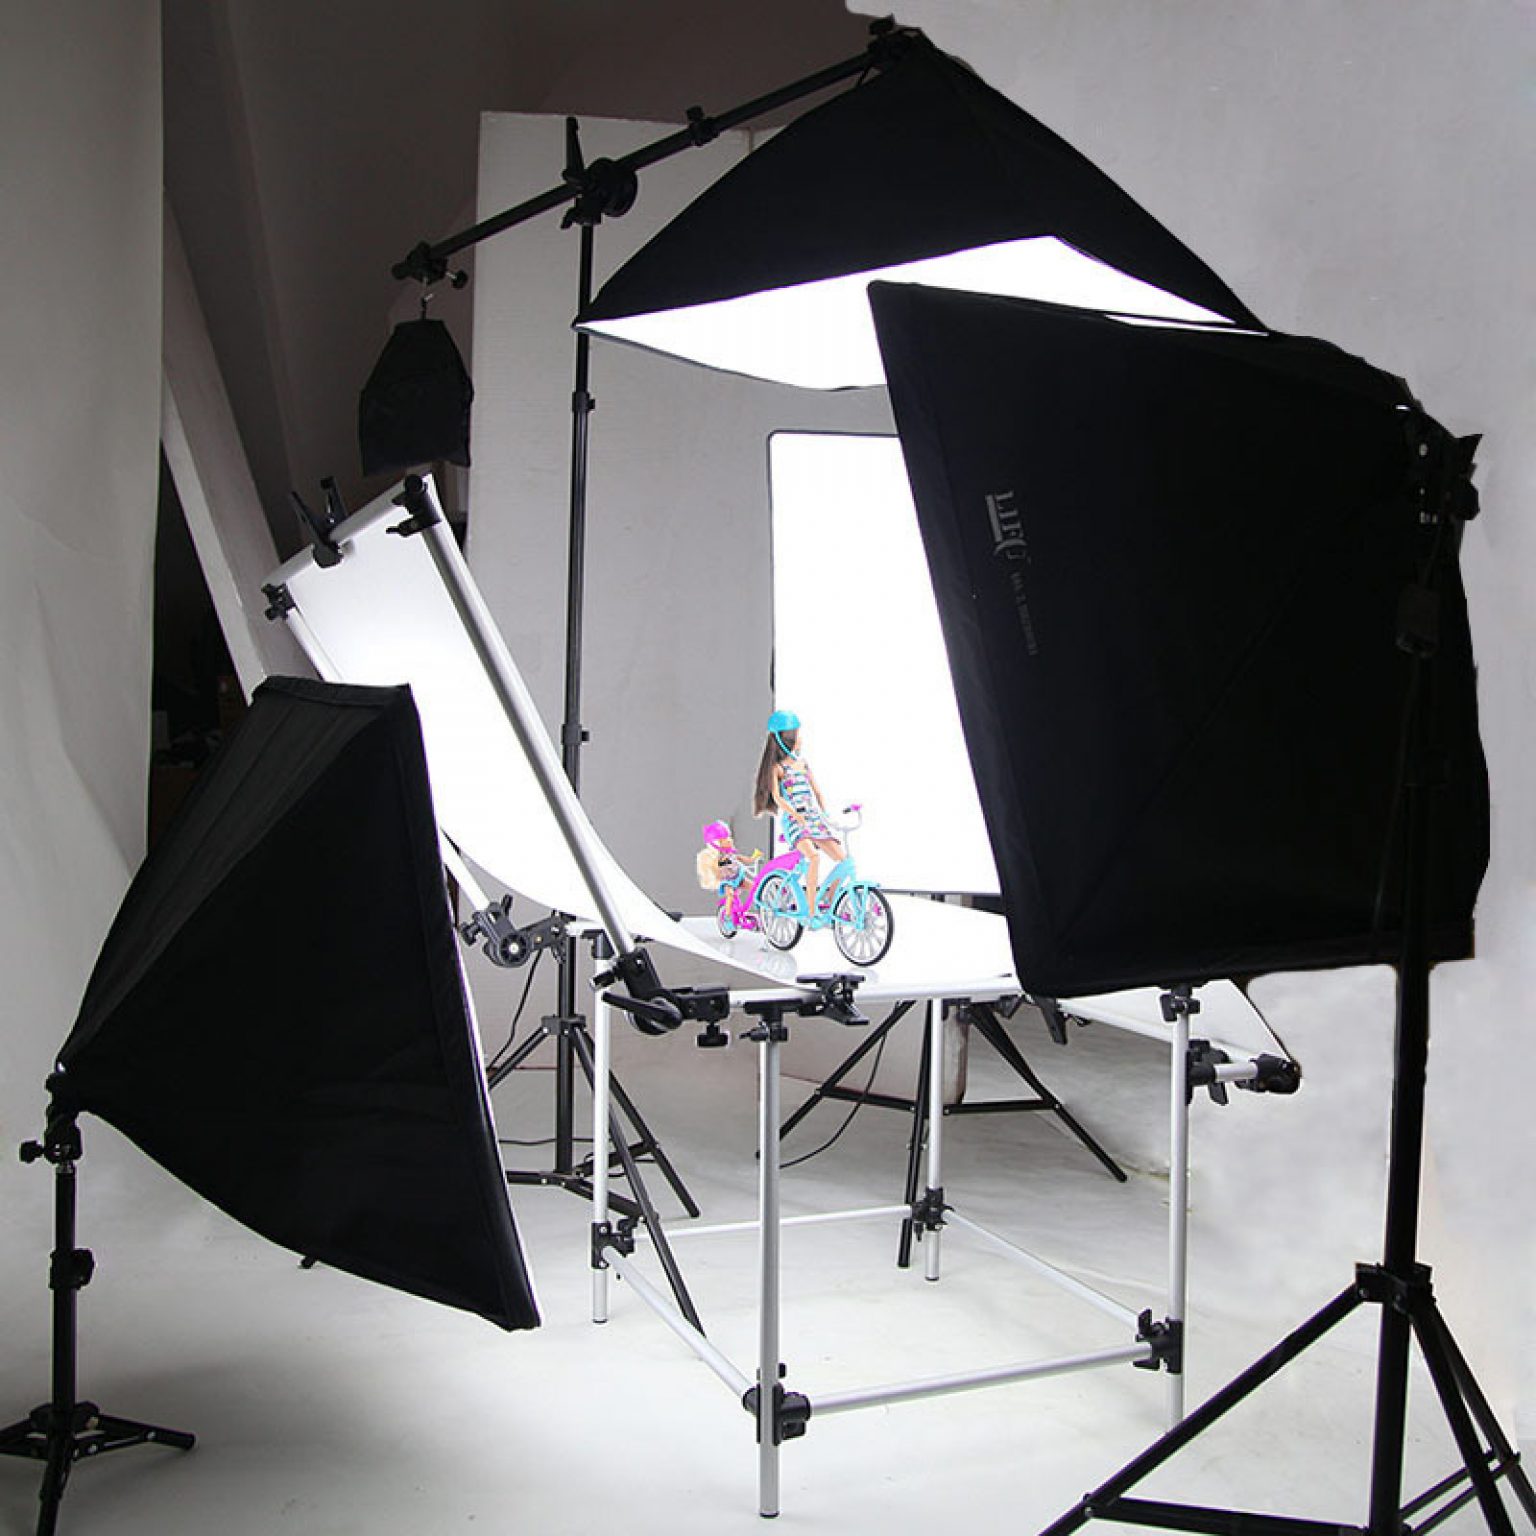 An advantage to these kits are that you have even more control over how much the light source exudes in your environment. This will allow you to manually manipulate your light even more than just a one bulb continuous lighting kit. Utilize these kits so you won’t have to remove bulbs to adjust the amount of light you want.
$300 Deluxe 3-Light Fluorescent Lighting Kit with Bag
Take your continuous lighting kit one step further by purchasing an adjustable power kit.
2. Speedlight Lighting Kits
Speedlights are external flash units that can be used along with umbrellas and softboxes to disperse light. They are faster than normal flashes and can be very versatile. It is best to use speedlights for stills, product shots, or action shots at weddings and sporting events.
Speedlights are extremely lightweight and portable, making them great alternatives for setting up quick but effective on-the-go studios.
First, you will need to purchase a few speedlight flashes. Here are a two options:
- $170 Bolt Flash for Nikon
- $190 Bolt Flash for Canon
Next, add an accessories kit with umbrellas or reflectors and stands to make your setup complete!
- $130 Westscott Speedlight Kit
- $360 Photoflex Portable Speedlight Kit
3. Monolight Strobe Lighting Kits
Monolights are self-contained strobe units that include power sources, reflectors and stands.
The main advantage to monolights is that, with them, there is no need for an extra power generator because all of that is contained in the head of the lamp. Each strobe monolight should be 150+ watts so that they are powerful enough to light your subjects.
Strobe monolights are mainly used in studios, but are extremely versatile and can be portable if purchased with a case.
Strobe monolights are mainly used in studios, but are extremely versatile.

They are often used for model photography and also product photography and also generally come with a continuous lighting setting, which certainly adds to its allure.
Here are some great strobe options.
- $1,100 Impact VC-500WLN 3-500Ws Digital Monolight with Transmitter Kit
Although there are many different ways to use artificial lighting and a whole slew of starter and advanced-level kits for you to research and invest in, the starter kits mentioned in this article should get you well on your way to creating wonderful studio images in your home or on-the-go studio.
If you’re going to invest in a lighting kit, we recommend that you buy at least 2 light sources so that you have ample light when you need it. Having a set of two lights will allow for more versatility in your lighting setups and, by extension, more creativity and professionalism in your photography.
And don’t be afraid to shop around for better deals! Most camera stores or ecommerce sites like Amazon, Ebay or Adorama run frequent promotional sales to help lower costs, so utilize those deals and get to shooting!
The Author
Thank you for reading.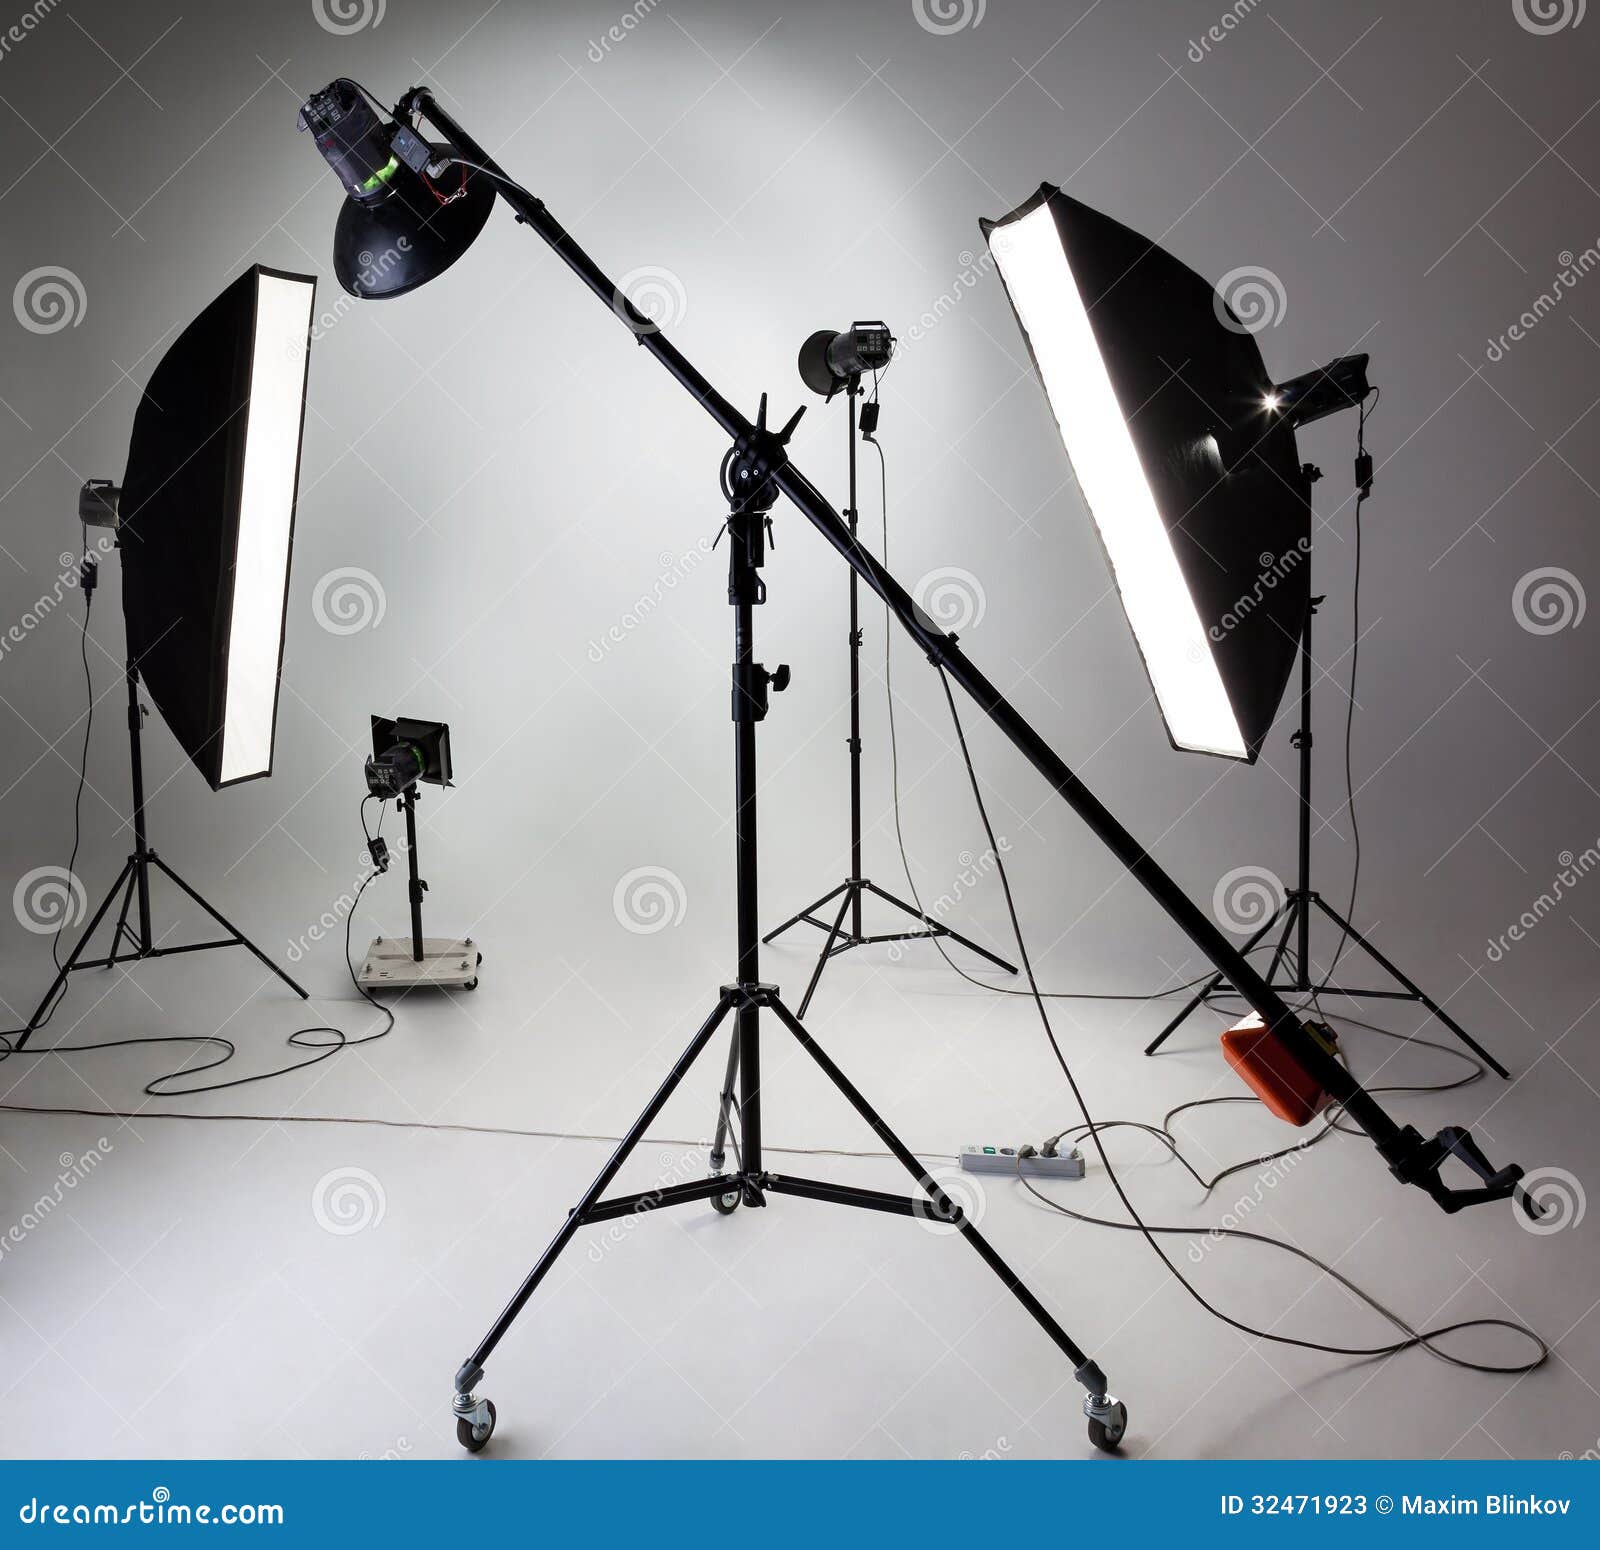 We love to share! Our goal is to bring you complete control over product image editing through seamless integration and industry leading expertise. Follow us and learn the easiest way to optimize images for e-commerce.
Subscribe to Our
Newsletter
What kind of studio equipment is there
Lighting fixtures are pulsed and constant.
Flash light can be used exclusively for photography. When the camera shutter is released, these devices emit a strong pulse of light. The synchronizer helps the camera and lighting fixture work together.
Pulsed type of lighting is widely used due to the economical mode of power consumption, as well as the excellent characteristics of the generated luminous flux.
In addition, professional photographers and videographers take advantage of constant light to illuminate subjects. This method of shooting allows you to visually assess the level of illumination, analyze the ratio of light and shadows, and improve the focus of the lens.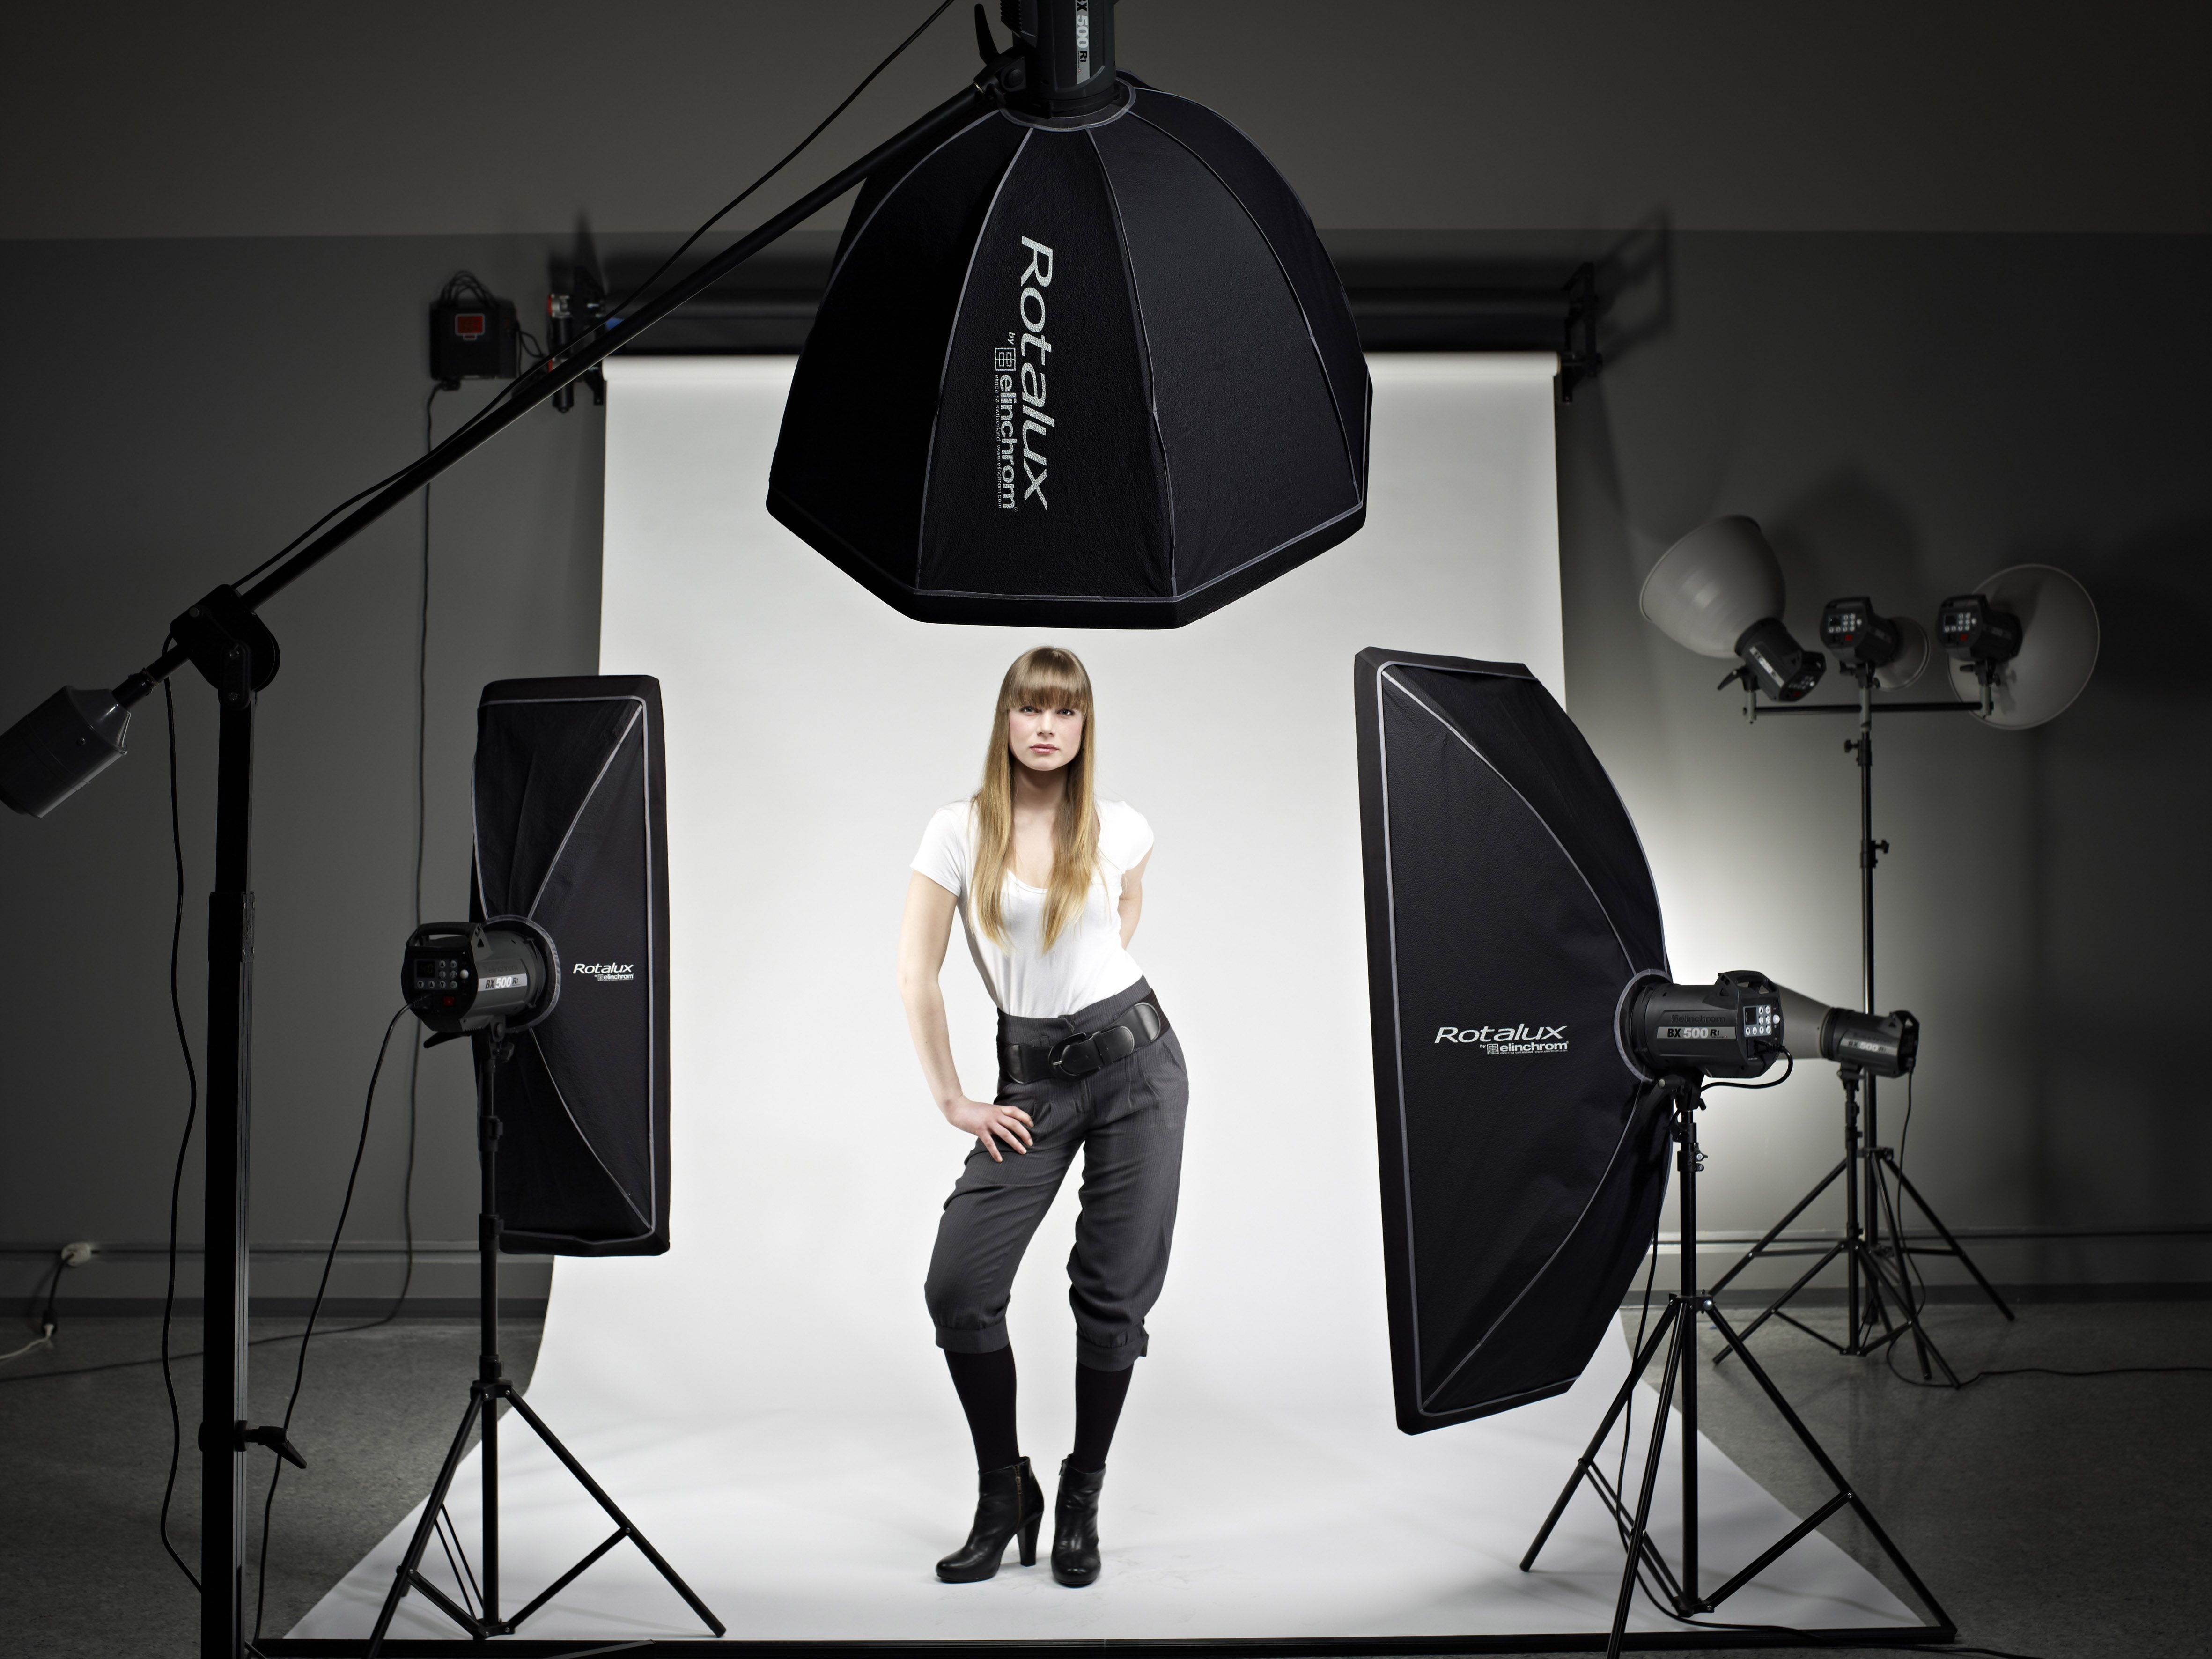
Studios often use pulsed light, so for a successful result you need to learn how to work with it.
Synchronization
Synchronization is required so that the shutter of the camera and the studio flash fire at the same time. With a device that fires a flash when a pulse is found, the camera can only be synchronized with one device.
Synchronizers are of three types:
• Synchronizer cable
One of the lights is connected to the camera, and all the others respond to the sound of the device that is connected to the camera.
• IR transmitter
This type of synchronization requires an infrared synchronizer. In this case, the signal comes through a special port, which is not always convenient, because with any unsuccessful movement, it may not reach the receiver.
• Radio synchronization
A very convenient method, because there are no cables or wires.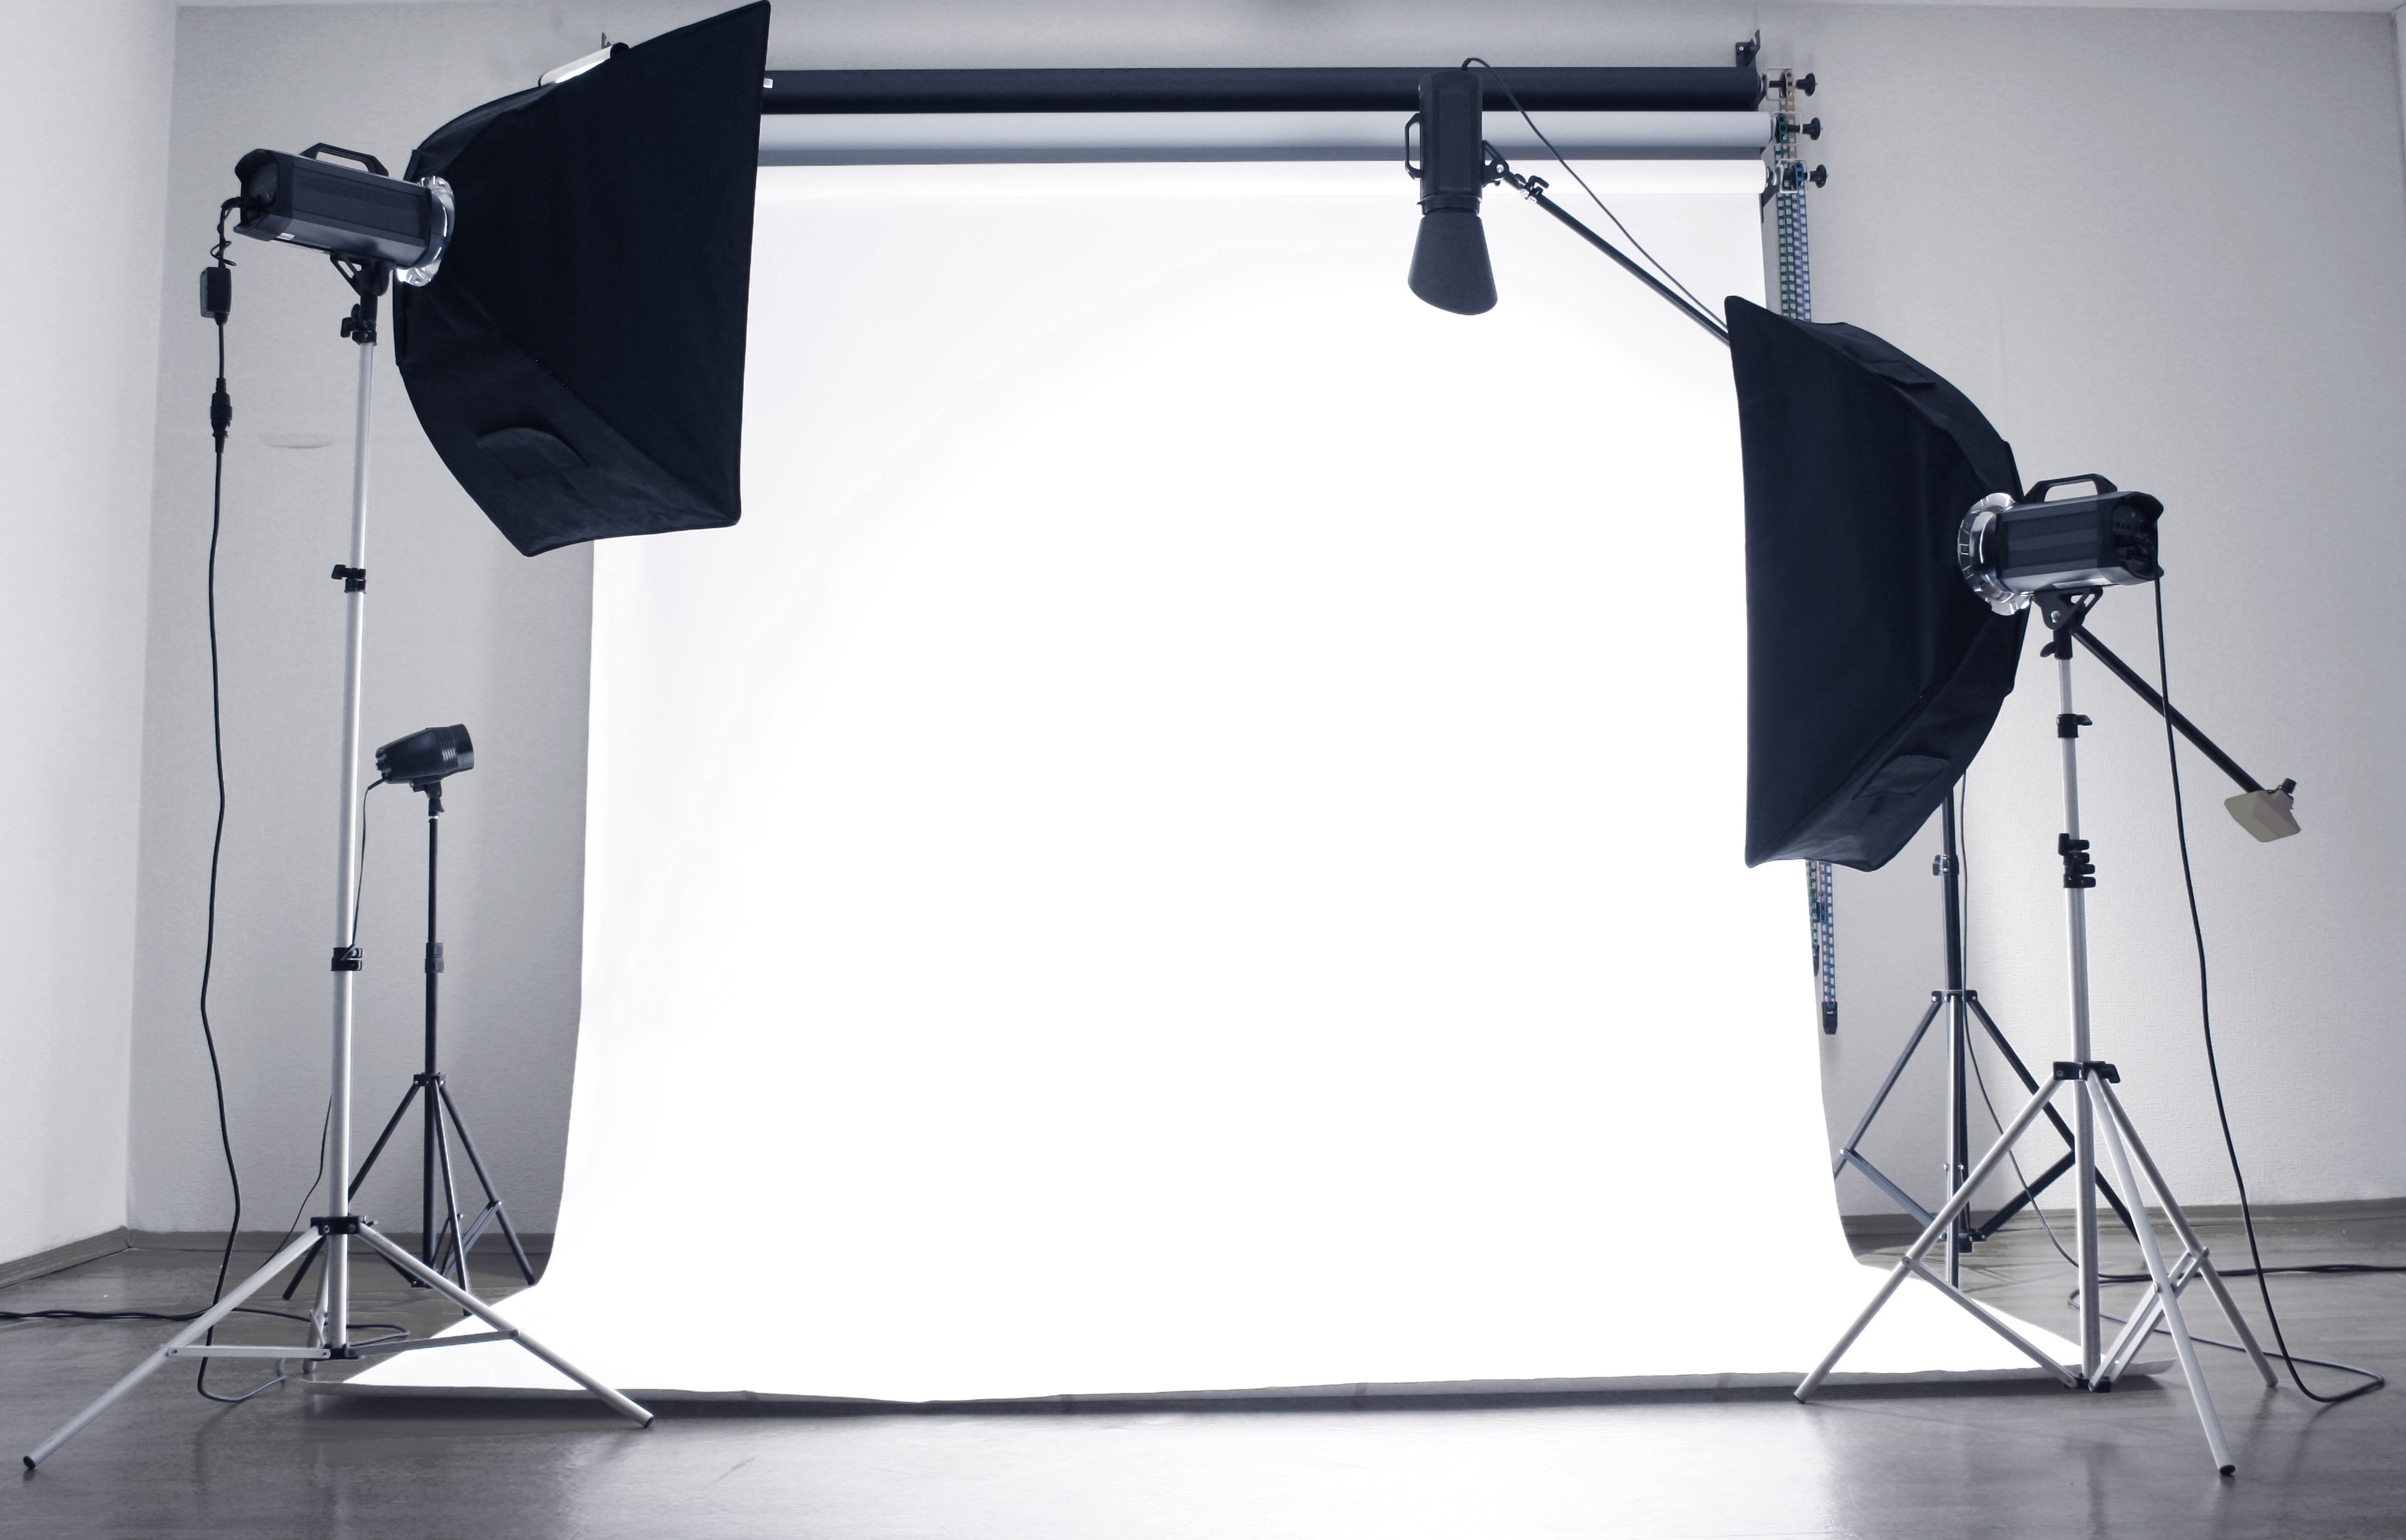
The flash can also be used for synchronization, but this is not very convenient, because using it will drain the battery very quickly.
How to work with lights
- Audio – a sound signal that the flash is ready to fire.
- Flash check – a light signal that the flash is ready to work.
- Slave – triggering monoblocks during photography.
- Test – testing the flash with an impulse salvo.
- Full – setting constant light to the maximum value.
- Prop – constant light increases in power similar to the impulse.
Lighting Attachments
To achieve the desired color, use the following lighting attachments:
• Standard Reflector – Concentrates the light flux in a strictly defined direction, so the light from it is quite hard.
• Umbrella – Helps the light to be soft and diffused.
• Soft box is a rectangular structure that diffuses light. This is what photographers most often use in their work.
• Strip box – needed for shooting large objects and for full coverage of the model.
• Octobox is used for group portraits.
• The Beauty Dish is used for portraits, it concentrates and softens the light.
• The background reflector is needed to make the background uniform.
• Tube (“spot”) allows you to direct the beam of light to a specific point.
• Universal Holders – Used to mount filters, honeycombs and shutters that prevent light from entering the lens.
• Curtains . Nozzle with 4 movable wings. Allows you to limit the spread of light. Together with the curtains, you can install a filter or honeycombs.
• Honeycomb . Honeycombs are used to get a beam of parallel rays and create a kind of imitation of sunlight.
• Color filters . They are installed on lamps for a point change in color.
• Reflectors and flags . These tools control the shape, the intensity
Want to try out professional equipment, but are you scared away by the justification for such an expensive purchase? You can always use our services and rent a photo studio, where there is everything you need.
Studio photography • Lesson #2. Lighting. Lighting equipment. Examples of schemes
Still, this is an interesting topic – shooting in a photo studio: studio lighting, lighting schemes, examples of use … If you search the Internet, you will find many articles on this topic. So we decided in our photo school dphotoworld.net not to “reinvent the wheel” and replenish this collection. But first, let’s remember what types of light are used when photographing.
Studio (or it is also called pavilion) shooting is carried out in a room that uses artificial lighting. The number and power of the light sources used in this case must correspond to the amount of illumination required to obtain a high-quality image. In accordance with these requirements, the luminous intensity of lighting devices and their arrangement are regulated, which makes it possible to solve compositional problems, obtaining lighting effects of various nature.
Types of light sources
Key light plays the main role in the formation of objects revealing their sculptural-volumetric plasticity. Skillfully using such light, the photographer can highlight the most important elements of the composition and leave secondary ones in the shadows. The ratio of light and shadow, i.e., the creation of light balance, is also determined by the strength of the key light source, which is created under artificial lighting with directional light devices.
If the shadows created by the key light do not carry a decorative element or semantic meaning, they can be highlighted with fill light . It is created by diffused light sources and, together with other types of lighting, primarily modeling light, determines the degree of image contrast. The fill light evenly illuminates the subjects and the room, creates the level of illumination necessary for satisfactory detailing, and does not create visible shadows.
Modeling light functions as an additional fill light (highlighting shadows), for which weak ambient light fixtures are used. The bottom modeling light softens, smooths out harsh shadows from the main (drawing) upper light source. Modeling light can emphasize the plasticity of volumes, creating a play of glare and reflections on them, that is, local reflections from various parts of surfaces and surrounding objects, and their shape, color and intensity can be adjusted.
Background light serves to illuminate the background, which is usually used for diffused light fixtures.
Contour Light Creates an outline of light around the object being photographed.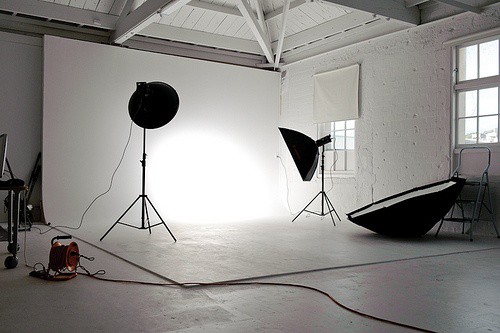 This contour should be brighter than the light part of the illuminated object and the background area on which it is projected. Contour light can become an expressive part of the composition.
Spectacular light will create highlights and shadows of a given shape, color and intensity on the elements of a photo composition, as a rule, reproducing the effect of a powerful light source located above the frame boundaries.
Compensation Light Illuminates shadow parts of the subject and never creates shadows in areas lit by the main spotlight or key light.
Shooting almost never uses all types of lighting at the same time, just two or three.
“The most powerful light source, which determines the nature of the lighting, creates the main key light; illumination of the shadow areas of the object is provided by a source of diffused, fill light. Backlight is often used, effectively outlining the contours of objects with light reflections.
Five lights are required to use these five types of lighting. But in most cases, two or three lighting devices are enough for the main, fill and backlight, provided that the selected background is light, located close to the object and does not require special lighting.
A. Simonov, Soviet Photo magazine, August 1968
 In some cases, the background is illuminated separately, for which a background light source is used. Modeling light can also be used to expressively illuminate individual parts of objects.
 When working with artificial light, the photographer must keep four lighting characteristics in mind:
1) illumination of the object being photographed and the entire space;
2) lighting contrast;
3) the direction and size of the shadows, i.e. shaded areas of the surface of the object being photographed;
4) spectral composition (chromaticity) of light incident on the surface of the object being photographed.
Speaking about illumination and contrast, it is necessary to remember the peculiarities of visual perception, for which not only the amount of illumination is important, but also the ratio of the brightness of individual sections of the composition being shot. The human eye distinguishes brightness if they differ from one another by at least 10%. Therefore, in order to reproduce the chiaroscuro gradation visible to a person, it is necessary to correctly pronounce the exposure metering of illuminated and shadow areas.
You need to learn how to properly use the direction of the light and the size of the shadows. There are countless options for lighting with artificial light sources – from thin, airy, shadowless, created by fill and modeling light sources, to a black contrasting cut-off image obtained using only one key light.
With directional light sources, you can create an expressive black and white pattern. A soft, transparent shadow will make the dramaturgy of the picture less conflicting. A pronounced chiaroscuro, in which some objects or parts of them are immersed in shadow, while others, on the contrary, are brightly lit, will introduce elements of dramatic tension into the composition of the frame and make the frame more expressive.
Skillfully using the contrasts of light and shadow, you can get completely different effects – from picturesque juiciness to the harsh sharpness of a poster drawing.
As already mentioned, in order to create a certain type of lighting, it is necessary to choose the right lighting fixtures for this purpose and install them correctly. There can be no universal scheme for setting up light for any type of shooting, since the choice of lighting is dictated by the individual creative tasks of the photographer and various plastic features of the depicted objects. Therefore, we give only a general scheme, which should vary in each individual case. We will look at some of its options in this lesson a little lower.
Stage photography equipment
Stage photography uses different light sources. We have already told you about flash lights in the first lesson of the studio photography course. What other studio equipment is there?
Some of the most common studio lighting attachments include:
– Umbrella is a very handy attachment that can be attached to almost any lighting fixture. As a rule, umbrellas have a diameter of 80 to 120 cm. There are translucent umbrellas that help to scatter and attenuate almost twice the light coming from a flash lamp, and umbrellas with a reflective surface. The latter have an outer surface of black fabric and an inner surface of fabric of various colors. Depending on the color of the fabric on the inside of the umbrella, one or another light can be received. For example, the matte white surface of an umbrella provides the photographer with very soft light, while the golden color of the fabric leads to an increase in the temperature of the light.
– Beauty dish. Thanks to the design feature of the “beauty dish”, the light is both concentrated and soft. That is why this nozzle is used when shooting portraits. Also, the effect of the “beauty dish” can be supplemented with honeycombs or soft nozzles.
– Reflectors . One of the most commonly used attachments in studio shooting is a reflector, which allows you to limit the light flux along the propagation angle and concentrate it in the right direction.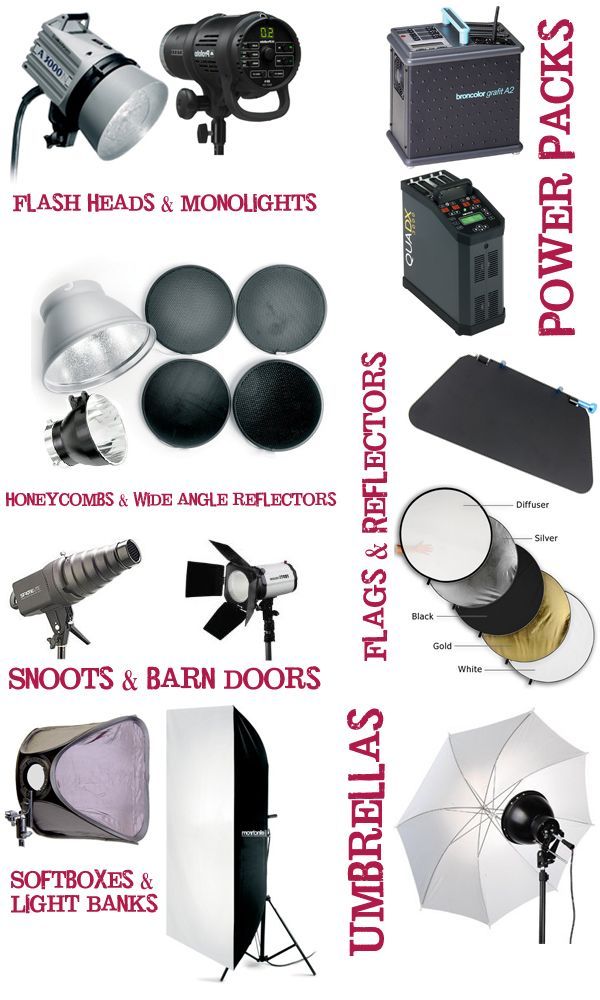 Reflectors come in various types – standard, background, diffuse and umbrella. Umbrella reflectors are used when shooting with umbrellas, and their main task is to direct reflected light onto the working surface of the umbrella. Back reflectors help the photographer to evenly illuminate the background, while diffuse reflectors, reminiscent of satellite dishes, are necessary so that the hard light from the flash does not fall on the subject being photographed. In addition, a variety of parabolic reflectors are on the market today, which are used to limit light at a certain angle.
– Soft boxes . The design of the soft box consists of a lightweight metal frame, which is covered with a dense fabric. Moreover, the inner part of the fabric (metallized layer) takes the form given by its frame, and becomes, in fact, a reflector that reflects the light flux onto a quadrangular diffuser screen. Such a diffuser screen is a special piece of fabric that scatters light well, but at the same time practically does not affect its spectral composition. Quite often, soft boxes are used in studio photography to create key and fill light, as well as to obtain uniform soft lighting of the subject being shot.
Long soft boxes, which are several times longer than wide, are called strip boxes and are most often used to illuminate full-length models, as well as when shooting large objects. Strip boxes (or they are also called strips) are great for creating long and narrow highlights on reflective surfaces. Octo-boxes are large-diameter octagonal soft-boxes. Used as a key light for group portraits. In portrait and subject shooting, they give a round shape of glare in the eyes of models or on glossy objects.
– Tubes and honeycombs . Other attachments for lighting equipment used in studio photography include tubes and honeycombs. Tubes are cone-shaped nozzles that allow you to limit the luminous flux to a narrow, directional beam of light. With the help of such a nozzle, the photographer can highlight the desired detail with light, place certain accents.
Honeycombs are fine-mesh attachments that help create a beam of light with nearly parallel beams.
— Constant light sources . In addition to pulsed illuminators, constant light sources can also be used in studio photography. Constant light sources are often used in subject photography, when traditional flashes cannot provide the photographer with a normal exposure during the pulse duration. Also, constant light sources are used to more accurately assess the distribution of light, shadows and highlights when building a frame, which is sometimes problematic when using conventional pulsed illuminators. Many professional photographers generally believe that constant light sources are preferable to flash lights when shooting portraits.
— Racks are designed for mounting various equipment, placing it in the studio and setting it in height. Crane is a stand with a crane and a sinker for installing lighting fixtures, designed to hold any weight, including soft boxes and octo boxes.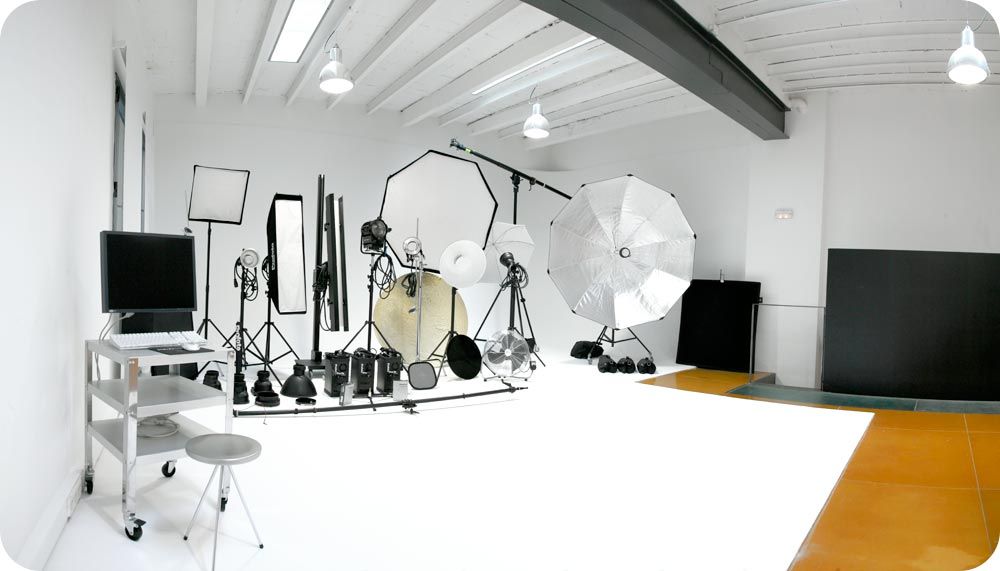
— Other equipment . The set of equipment used in a professional photo studio is very wide. For example, the same fans are not only used to cool lighting equipment. Power-controlled tunnel fans help make the model’s hair flow and her clothes flutter in the wind. Working with lighting equipment requires its synchronization with the camera. For this, in particular, the so-called IR trigger is used, which is attached to the place of the external flash of the camera. The IR trigger synchronizes the operation of the lighting equipment and the camera via an infrared pulse, thereby ensuring that the camera shutter opens and the light pulse occurs simultaneously. Synchronization can also be carried out by wire, or by means of a radio receiver connected to a light source (the transmitter, respectively, is connected to the camera).
For studio photography, a photographer needs good optics. In particular, for subject shooting you will need a macro lens that allows you to shoot from a very close distance and is characterized by maximum sharpness and detail.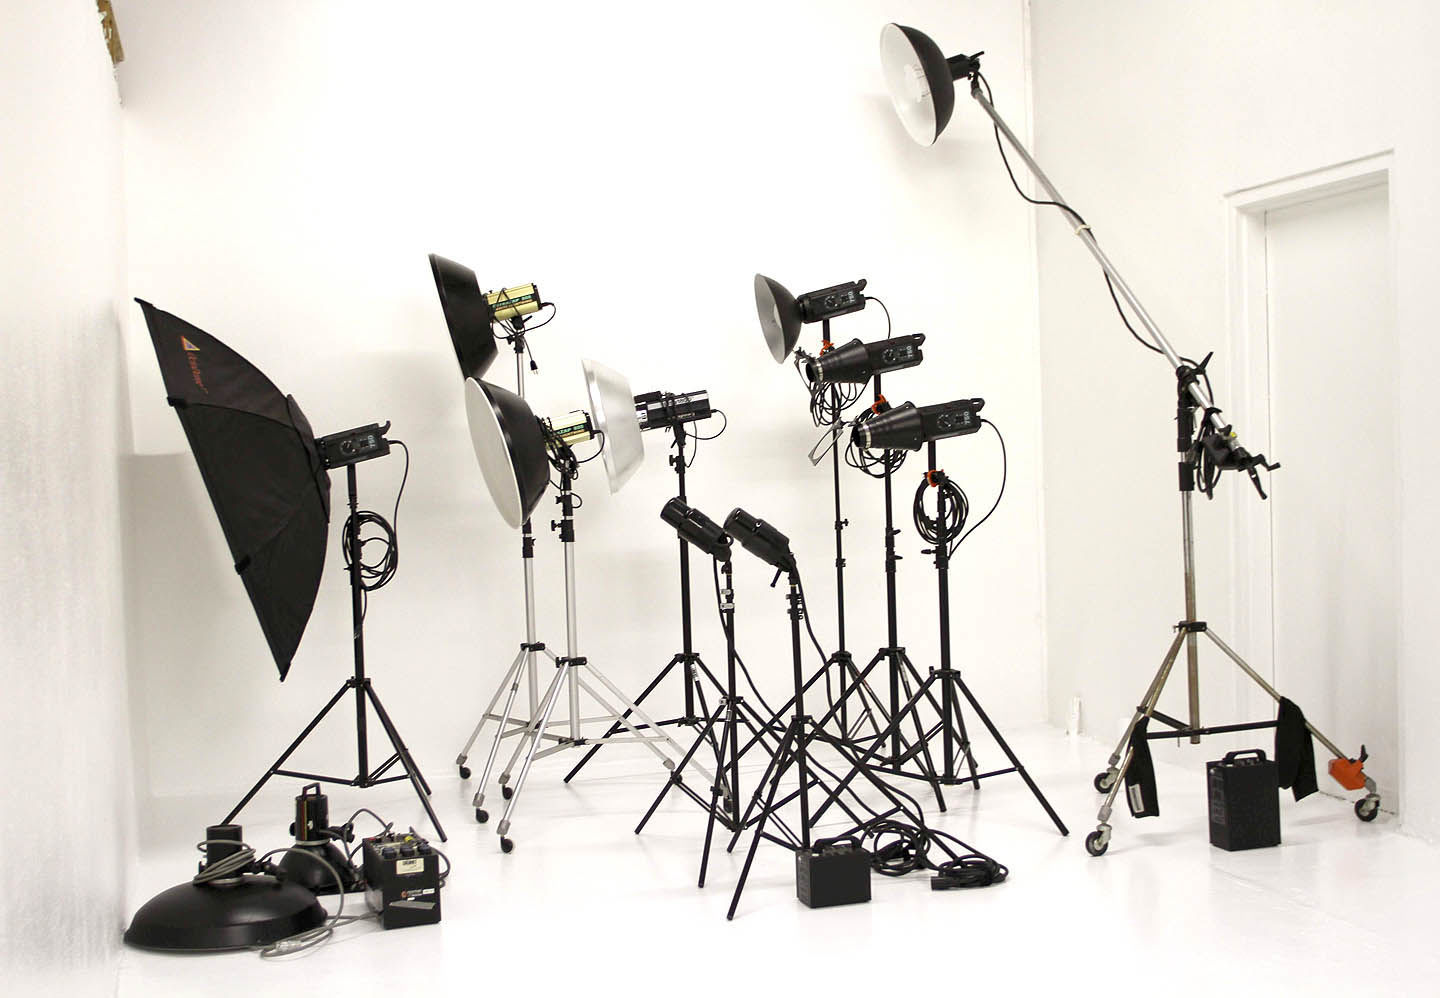 Shooting in a studio setting also allows the photographer to create truly unique environments with voluminous atmospheric scenery and smoke. For this purpose, the studio uses a smoke generator, which makes it possible to create a fog of the desired density in the room, which acts as a background.
Only well-chosen studio equipment opens up a wide field for the photographer for all kinds of creative experiments, the embodiment of his ideas and the effects of professional photography. In the studio, you can organize a wide variety of lighting schemes, ensure the creation of fog or wind. You just need to be able to work with a variety of photographic equipment and lighting equipment.
Studio Lighting Examples
The studio lighting schemes given in this lesson are not a dogma or a direct guide, they are shown only as an example and can be used differently – at the discretion of the photographer. These schemes use the minimum number of light sources.
1. Classic lighting scheme with 3 lights
Option 1 : 3 flash lights – 2 soft boxes and flash with reflector.
An octo-box was used as the main (drawing) light source. Considering that the octo box, as a kind of soft box, gives a soft, diffused light of a large area, there is no need for a fill light.
The use of a white background is due to the desire to highlight the subject without being distracted by details. The background light seems imperceptible, however, the illumination from the opposite side of the key light – the shadow side, evens out the brightness of the background. A similar arrangement of studio equipment, with minor changes, is used in stock photography and for shooting in a “high key”.
Option 2 : 3 flash lights – octo box, vertical strip box and light head with reflector.
Still the same standard lighting scheme. For additional illumination of shadows, instead of the fourth source, you can put a reflector.
The model in white clothes stands out well against a colored background, although it is more suitable for artistic or glamorous shooting. Lightening the background, given the white clothes, may not have been worth it. However, thanks to this lighting, the background is heterogeneous and “plays”. The contour on the shadow side of the model also highlights the silhouette. Background and contour light serve to create effects, and the use of such illumination makes the photo more “tasty”.
2. Lighting scheme with 2 sources
Option 1. The background is light. The model is close to the wall. The fill light comes from a large octo-box located on a crane above the model. The key light is a vertical strip box positioned at approximately 45 degrees to the optical axis of the camera.
Option 2 similar, but the background is neutral or dark, and the key light source is turned so that it shines from the side. In the studio, such a light is called a sliding light. Side lighting is best for bringing out the texture of a surface, such as fabric, in clothing shots. The image is more contrasted, and the contour is emphasized by backlight, placing it behind, above and to the side of the model at 45 degrees.
3. Shooting with a parabolic umbrella
A giant parabolic umbrella (approx. 180 cm in diameter) stands in the center of the photo studio. The color of the reflective surface is white. The design of the umbrella is on wheels with a counterweight, and the light head can be moved along the axis to achieve various effects.
On diagram 1 you can see how bright light highlighted the model from two sides. The large size and shape of the back reflection reflector provides soft, uniform illumination that serves as both key and fill light. The characteristic round glare from an umbrella is well suited for portraits. When shooting close-ups, a brightly lit circle with knitting needles is visible in the reflection of the eyes.
The pulsed light from the reflective surface of the parabolic umbrella itself has an “enveloping” effect. This umbrella is ideal for portrait photography, as well as dynamic shooting of a model in motion.
Scheme 2 for shooting in a studio against a light background: large diameter parabolic umbrella and background lighting with two strips. To separate the model from the background differently, you need to make the background brighter. 2 vertical strips are used for uniform illumination of the background over the entire height. The power of the sources is maximum. The light from a parabolic umbrella is voluminous. It works well on the texture of leather and fabric, drawing details, and therefore is indispensable for fashion shooting for clothing catalogs and photo stocks.
4. The scheme of shooting on a white background for photostocks
A feature of shooting for photostocks is the isolation of people or objects from the background. Usually a white background is used and its additional lighting.
Scheme 1 . As sources of key and fill light, octo-boxes are used on the sides of the model, one of which is on top of the crane.
To prevent the white background from looking gray, you need to light it evenly. For this, 2 vertical strip boxes were used, one on each side. The background light pulse power should be large enough or maximum. As well as drawing, although drawing can be slightly reduced. An additional nuance of such a light scheme is the use of the background as a reflector and backlight. If the model is in close proximity to the background, then a bright light contour is formed around, and the figure is drawn.
Pattern 2 : For chest portraits, this pattern can be used when the background is illuminated by the large octo box on the crane.
5. Lighting scheme on a black background
Let’s consider a scheme for shooting a contrasting portrait in a studio, on a black background, using two light sources. To create a hard pattern of light and shadow, special nozzles with honeycombs are used. And the tube will serve as a source of accent (sometimes called sculptural) or modeling light.
Modeling light – located along the axis of the key light, and is located on the opposite side of the model. It “tears” the unlit half of the model from the background. It does not have a clear pattern and does not compete with key light. If installed incorrectly (for example, excessive brightness) can disrupt the entire light palette. If the photographer “does not see” or does not understand the modeling light, then it is better to refuse it. Due to the fact that the light of the modeling light source can fall on the front lens of the objective and reduce contrast or cause unwanted reflections, it is installed in a tube, or the light source is equipped with protective shutters.
The diagram shows how to create a contrast pattern with two hard light sources. Very often, such lighting is used in collages of advertising posters or movie posters.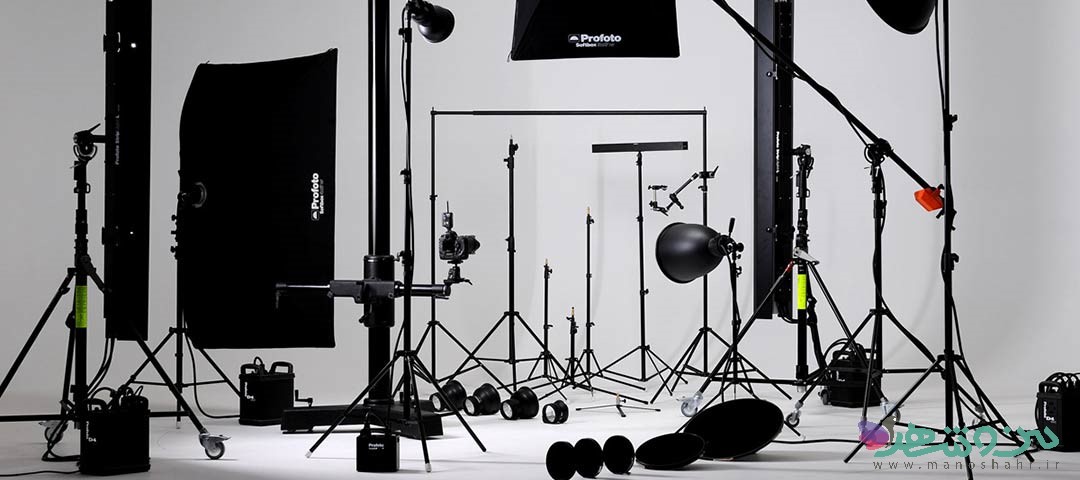 Accent light can be obtained using a spotlight nozzle or a tube, and the power of the source should be half a step higher than the power of the drawing one.
Light plan 1 : Two pulsed light sources – beauty dish with honeycomb and tube with honeycomb.
The specific nature of the lighting that a portrait reflector creates differs from soft boxes or umbrellas, as the light flow is evenly distributed on the reflective surface. To obtain softer light, a diffuser is used, and to obtain directional light, honeycombs are used to match the size of the plate.
Honeycomb tube – an attachment used in portrait photography to create highlights or highlight hair. Lighting with a point light source, such as a tube, requires more careful and accurate flash placement.
Scheme 2 : The photo shows how a poorly placed modeling light source affected the character of the pattern.
The key light source is located at 45 degrees to the model in front and slightly higher, and the modeling light source, on the contrary, is at an angle of 45 degrees and higher behind the subject.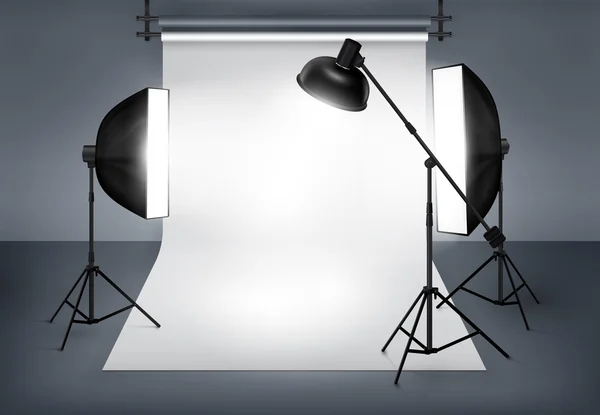 The result is a contrasting portrait that stands out well against a black background.
6. Two source light scheme with color filter
The highlight of this two source scheme is the use of a color filter on the contour light. A small octo-box creates the main light-shadow pattern, gives a white (cold) tint. And the orange filter of the reflector, located behind, on the side and above the model, illuminates part of the face and dress with warm yellow light. The pattern turns out to be such a fashionably golden. The resulting overall golden illumination makes the image softer.
If you want to make the tone cooler, and skin colors and dresses more natural, you can adjust the white balance or post-processing. Although this can ruin all the romance of lighting. Initially, the white balance was set to 5560 K, to “cool” it, you can reduce the temperature to 4500 K.
This concludes this lesson. Complex, the full understanding of which comes only with practical experience, which we wish you, our dear readers, to acquire as soon as possible.